Laying tiles in the bathroom: options, rules and procedures
Before laying in the bathroom, you need to check how smooth the walls and floor are. Very often this room has very limited dimensions and you naturally want to preserve its volume as much as possible. Attach a plumb line to the ceiling against one of the walls.
The distance from the wall is 3-5 cm. The weight of the plumb line (1-2 cm does not reach the floor) will pull the cord and show how even this wall is. Mark the adjacent wall with chalk or pencil. Do this for each wall.
In order to find out how flat the floor is, you need to use a laser or water level. With his help, a horizontal line is beaten off (drawn) on the walls around the perimeter of the bathroom. This can be done at a height of 1-1.5 m so that it is convenient to make marks.
Measure the distance from the horizontal line to the existing floor at two to three points on each wall. This data will show you if the floor has a slope or not. If there is a slope, it must be leveled, otherwise the bathroom or shower will be crooked. Preparing the walls for laying in the bathroom begins with leveling.
Important to remember! Leveling walls and floors is a mandatory procedure that should not be neglected. If this is not done, you risk losing money on overspending tile adhesive.
Even if there is no floor slope, but there are holes and depressions, they should also be eliminated by performing a cement-sand screed. After the curvature of the surfaces is determined, you can start leveling.
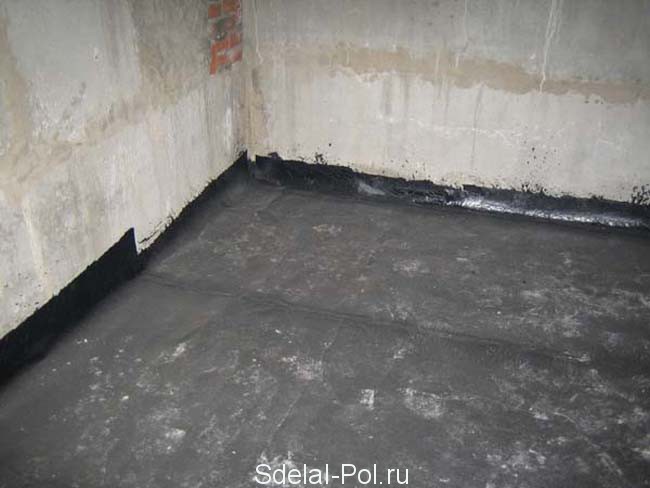
The process begins with leveling the floor. If the old screed is not strong, has deep cracks and other defects, then it is recommended to remove it. Before laying a new screed, a layer of waterproofing is laid on the floor, which will protect against water leaks in case of accidental spills.
The easiest option is to lay strips of roofing material with an overlap of 10-15 cm on the walls and on adjacent strips. You can apply one-component or two-component bulk, waterproofing. It is produced on a cement mortar with the addition of polymers.
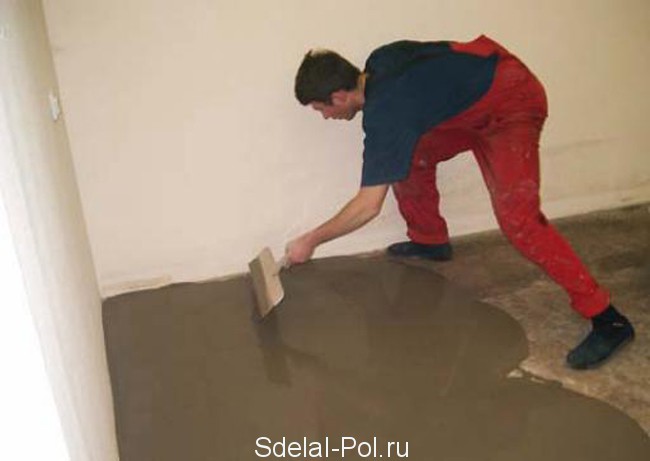
Beacons (slats) are placed on the waterproofing layer at the level of the future floor and cement mortar is poured. It is pulled together by the rule of lighthouses. After the floor is leveled, you can proceed to the walls. There are two correct methods.
Important to remember! Mandatory rules for laying tiles in the bathroom provide for coating waterproofing of future “wet” sections of the walls (adjacent walls to the bathroom, shower and washbasin).
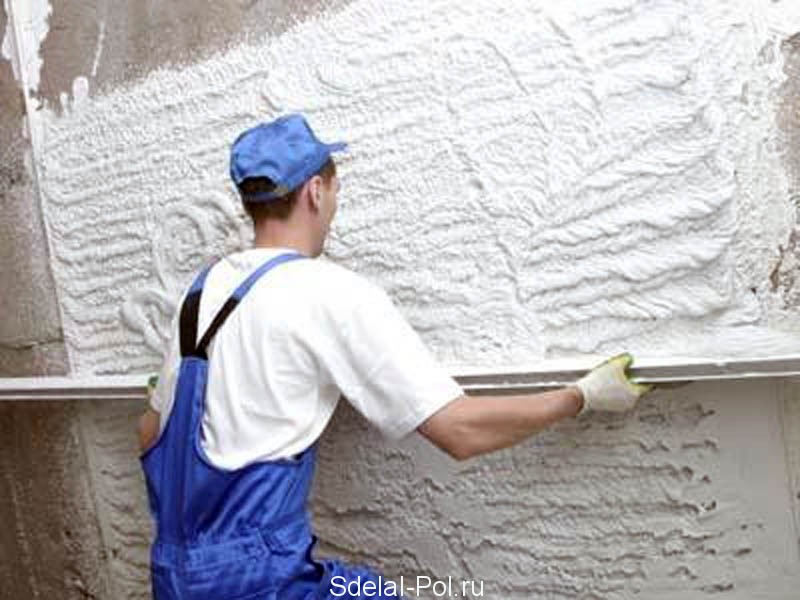
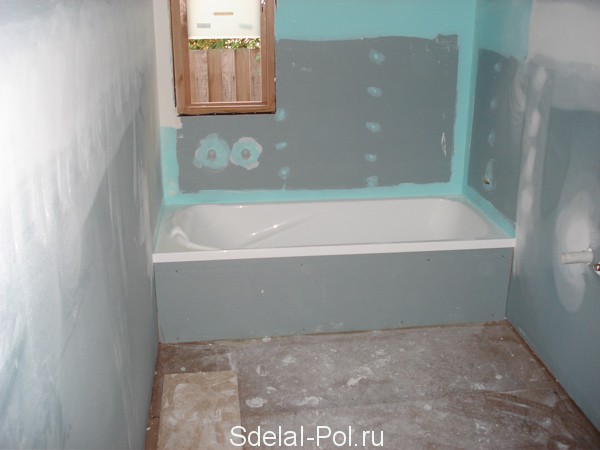
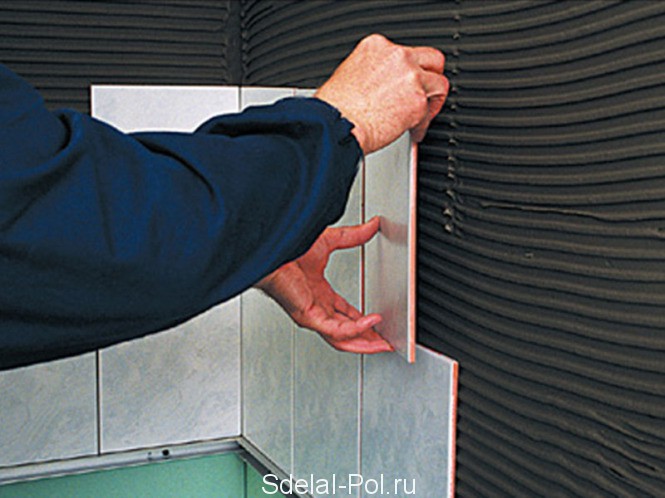
The first method is plastering with cement mortar or ready-made plaster mixtures. It is more labor intensive. The second faster method is the use of moisture-resistant drywall. GKL sheets are glued to the walls with tile glue, after which they are fixed with self-tapping screws and dowels.
After leveling the floor and walls, all surfaces are primed with a deep penetration primer. After it dries, you can start laying tiles.
Laying
The technique of laying tiles in the bathroom on the floor and walls is the same, however, floor tiles are different from wall tiles. It is larger, thicker and has a rough (anti-slip) surface. The order of laying tiles in the bathroom is different, but it is better to start with the walls, so you will have more work to do. Finish laying on the floor, after which you will have to wait 2 days for the glue to dry.
Note! Laying tiles should begin from the wall of the opposite front door.
The scheme of laying tiles in the bathroom on the walls is as follows. Lay the tiles along the wall and if you don't need to cut the last tile, then that's great. If pruning is inevitable, then it must look symmetrical on the wall (located in the corners). To do this, the wall is divided in half and the laying of the first row begins from the center line.
Having reached the corners, the tiles are cut with a tile cutter and all the trimming is laid out on both sides of the wall to the level of the ceiling. To hide the cut edges of the tile, you can put plastic tile corners in the corners. Plastic crosses are inserted between adjacent tiles, so it is convenient to observe the tile seam.
After that, the entire wall is filled with tiles, and they proceed to laying on another wall. The process is repeated in the same way on all walls. When the walls are ready, you can lay the tiles on the floor. It is worth noting that there are different options for laying tiles in the bathroom, but it is worth highlighting two main ones:
- Diagonal method
- Rectangular or traditional
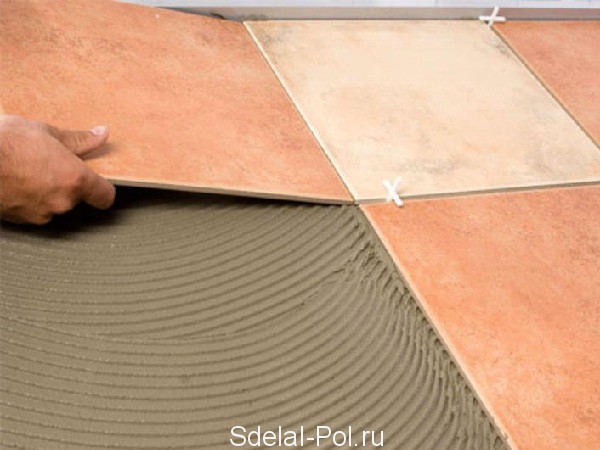
The adhesive is applied to the screed with a notched trowel for tiles. This will ensure maximum adhesion of materials. Crosses are also inserted between the tiles.
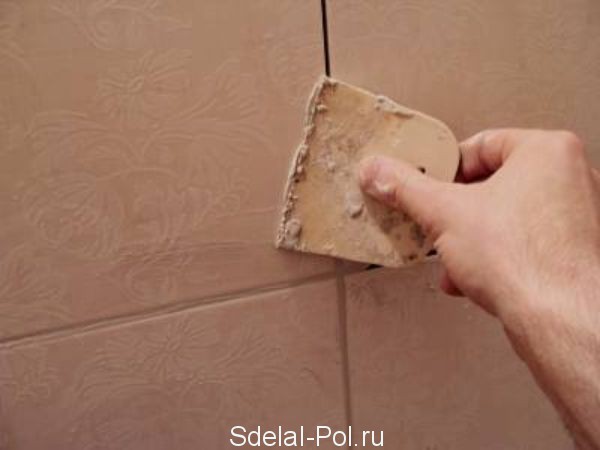
When the tiles on the floor are dry, the crosses are removed, the tile joints are cleaned of adhesive residue and grout is applied to them with a rubber spatula. Excess grout is removed with a damp sponge. You can watch the tile installation in the bathroom on the video on this page.


