DIY bathroom renovation: video
Do-it-yourself bathroom renovation is an extremely pressing issue. There are many reasons to start a renovation: the plumbing equipment has broken down, the integrity of the old tiles has been compromised, the bathtub has lost its original shine, or you simply want something new.
As practice shows, one attempt to change anything in the interior leads to the need to change everything, thus arranging a major or cosmetic renovation. But whichever one you decide to do, by doing everything yourself, you will be able to save a decent amount of money.
Since the bathroom is a room that is regularly exposed to changes in temperature and humidity, you cannot buy low-quality materials. Otherwise, you will not be able to avoid repeated repairs.
Necessary repair steps:
- Calculation and selection of building materials - calculation of the required amount of building materials, selection of a suitable finishing option.
- Dismantling the old covering - cleaning the room from old tiles, plaster, tiles, plumbing.
- Updating communications - ventilation, sewerage, electrical wiring, plumbing.
- Floor – screed, tiles or linoleum are laid, plumbing is installed.
- Walls – selection of materials and finishing of wall coverings, installation of sockets.
- Ceiling – ceiling finishing, lighting.
- The final stage is the installation of furniture, bathtub or shower stall, etc.
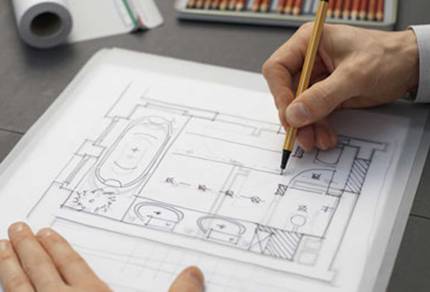
Calculation and selection of building materials for do-it-yourself bathroom renovation
If you have approximately determined the amount of expenses required for materials and plumbing, and think that counting each tile or bag of glue is not necessary, then you will be very surprised to find out the exact figure. As practice shows, it may turn out to be several times higher than previously planned.
In order not to make a mistake when calculating the required number of panels, tiles, cables, fasteners, and mortars, you should take all dimensions and enter the data into the project. In this case, the exact cost of the upcoming repair will be determined.
An example of a tile counting scheme for wall cladding:
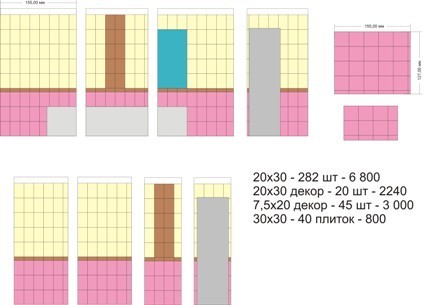
On the diagram it is necessary to indicate all the walls separately, according to the perimeter indicators, and draw a “grid” with the dimensions of the ceramic tiles. This way the exact amount of finishing materials will become clear. In addition, we should not forget that when cutting and laying tiles, a part may be damaged. For this reason, you need to add 5% to the overall result. The amount of porcelain stoneware for the floor, decorative elements, and ceiling panels is calculated in the same way.
The cost of plumbing equipment, finishing materials, and furniture can be found on online store websites or in specialized retail outlets, but you need to keep in mind that interior trends and fashions change, and the selected product may not always be in stock. You need to take care of purchasing it in advance.
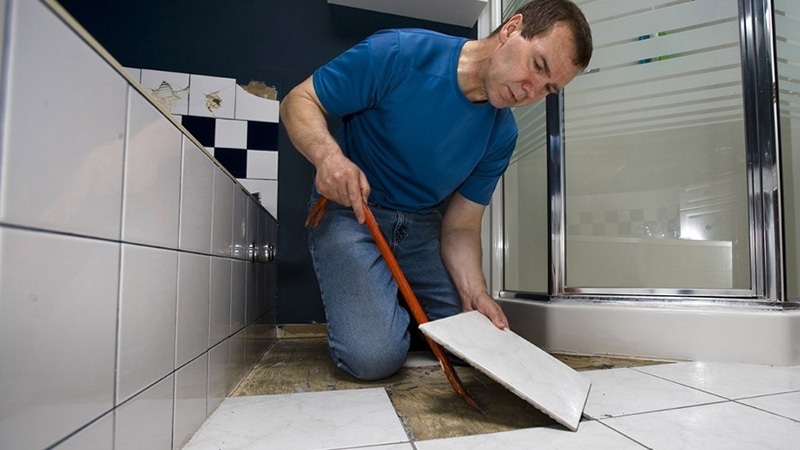
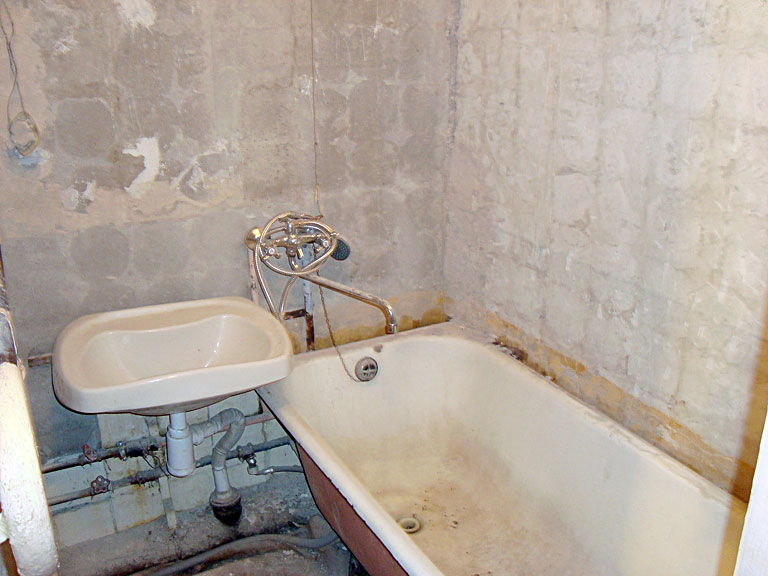
Do-it-yourself bathroom renovation: preparatory and dismantling work
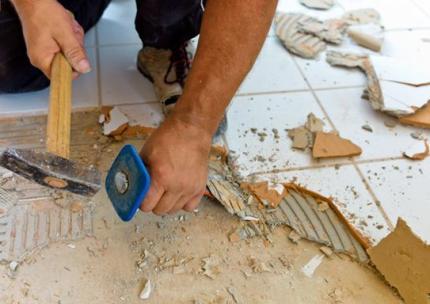
It doesn’t matter what repair needs to be done, major or cosmetic, it all starts with preparatory work. The first thing to do is to completely empty the room and leave only the drainage system and sewer riser. The walls are cleaned from the old covering (tiles, tiles, whitewash, etc.) to the concrete base. The surface should be cleaned as efficiently as possible without any residue of plaster or mortar.
It may seem that breaking is much easier than building, but this is not so. If the tilers did their best when finishing the room, it will be very difficult to remove the tiles from the walls and floors. You may even have to borrow or buy a hammer drill.
If the bathroom has a ventilation box, it will also need to be removed and replaced in the future with a new one made of plastic or drywall.
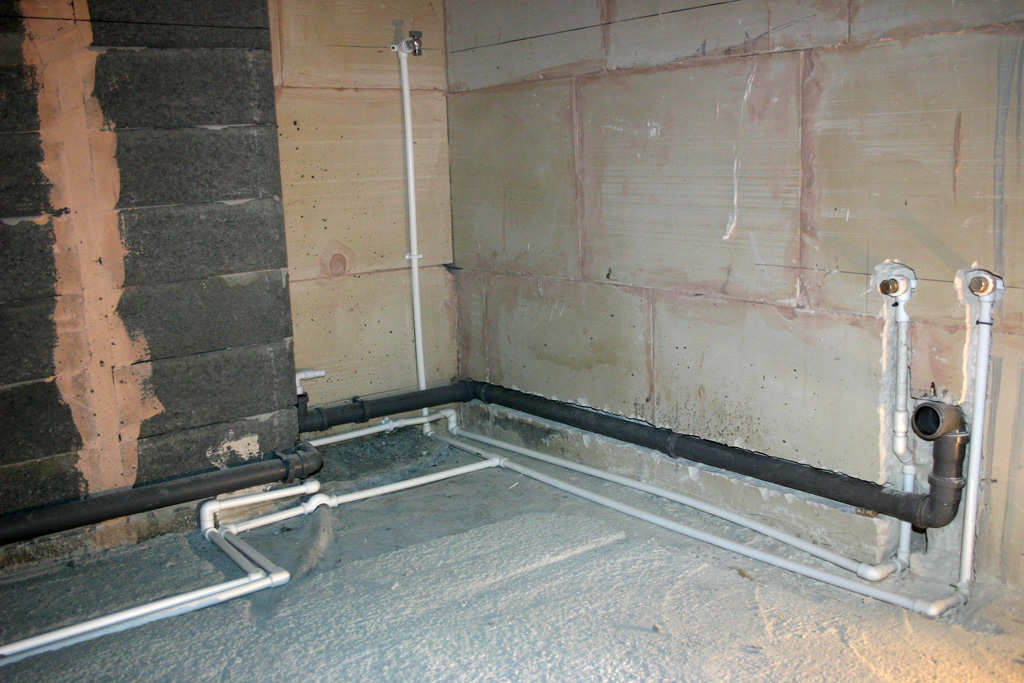
The next stage is the installation of communications
These include:
- water pipes;
- sewerage;
- wiring;
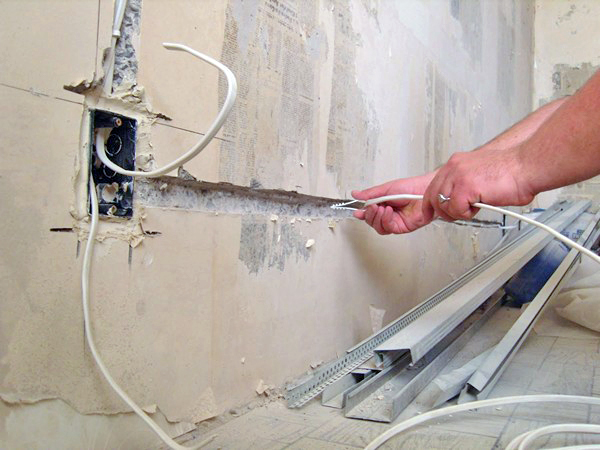
- ventilation.
One of the most difficult stages is the dismantling of cast iron pipes, which can still be found in old houses. Instead, it is advisable to install a pipeline made of polypropylene, as this is an inexpensive, durable and resistant material that is ideal for the bathroom. Of course, steel pipes are more affordable, but they can be subject to corrosion, which is why they have a short service life. Work begins with the water supply. It will be necessary to make connections to all water intake points:
- washing machine;
- wash basin;
- bath or shower stall.
To work with PVC pipes, you will need to acquire special soldering equipment. As a rule, many hardware stores provide them for rent.
Advice: when laying the pipeline, we must not forget about important details - plugs, water meters, shut-off valves, outlets for washing equipment.
In order for water to flow freely, the installation of sewer pipes should be carried out as low as possible. Therefore, for shower stalls with a low descent, you will need to install a podium. The minimum inclination angle is 5 degrees.
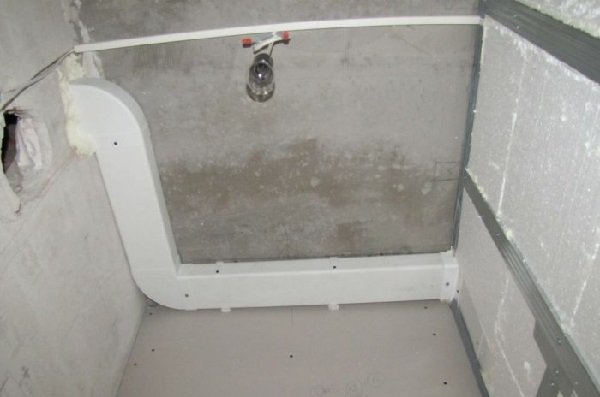
In addition, you should consider the option of masking the pipes. You may need to ditch the walls or construct boxes from plasterboard. Also, electrical cables are installed in the walls, having previously drawn up a diagram of the location of lamps, sockets and electrical appliances.
As a rule, ventilation shafts are left untouched, but the exit grille can be changed, since it should be in harmony with the surrounding finish.
DIY bathroom renovation: insulation and waterproofing of the floor
Renovation work in the bathroom begins with the installation of a screed. Its height will depend on the insulation option. If additional thermal insulation is not provided, you only need to take into account the thickness of the tiles - 1-1.5 cm. When installing a “warm floor” system, the screed technology will resemble a pie, in the middle of which the heating system will be placed. The total thickness of the screed in this case will be at least 3-4 cm.
Tip: there are several screed options - wet (the best option for rooms exposed to high levels of humidity), semi-dry (has a filler that lightens the overall load) and dry (categorically not acceptable for bathrooms).
Procedure:
- treating the base (concrete slab) with a deep penetration primer;
- installation of beacons at intervals of 60-80 cm, using a level;
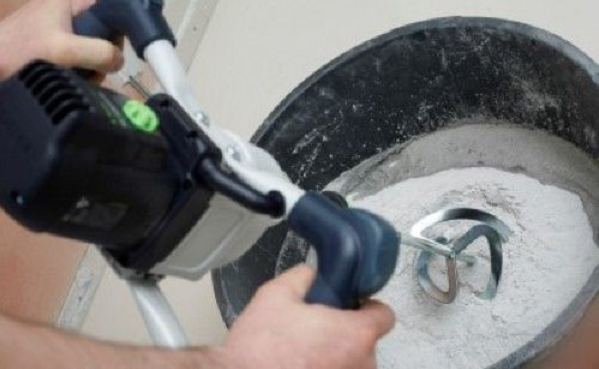
- creating a sand-cement or concrete mixture;
- filling the floor area between the beacons with mortar, leveling;
- dismantling beacons, smoothing out uneven surfaces;
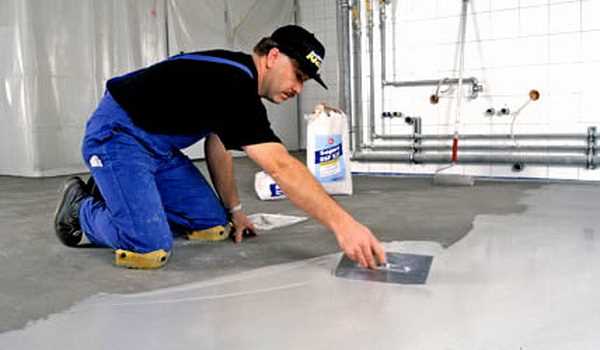
- cover the floor with film and dry.

Insulation is used to insulate the floor. Mineral wool is not suitable because it has a property that is not necessary for this room - high hygroscopicity. But sometimes it is used, while being carefully isolated from the influence of moisture. The most successful option is polystyrene foam. As a rule, it is laid on the base in front of the screed device, having previously been reinforced with reinforcing mesh. Flexible and elastic penoplex performs similar functions.
Tip: materials such as cement-polymer coating, film with a thermo-reflective layer, and liquid silicone membrane are used as waterproofing in kitchens, bathrooms, and restrooms.
A more comfortable option is the “warm floor” system, which can be implemented in different ways:
- Water - a flexible system of metal or plastic tubes, heated by centralized (boiler) heating.
- Film - infrared design with thermostat and electrical wiring.
- Electric – assembled from heating components powered by electric current.
Any of the above systems optimally affects the microclimate in the bathroom, while being easy to install and inexpensive.
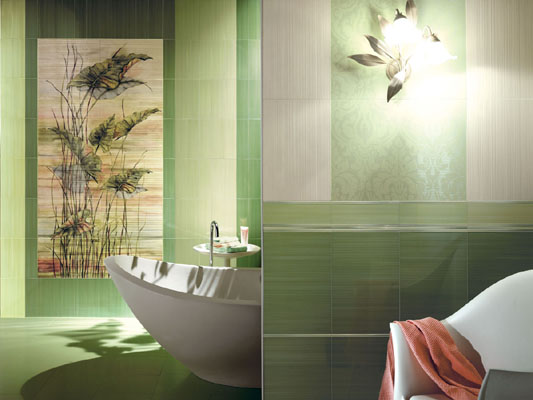
Do-it-yourself bathroom wall renovation: modern materials
Traditionally, tiles (ceramic tiles made from baked clay) are used to decorate a bathroom, but the process can often be made cheaper by using plastic panels or paintable plaster to decorate the walls. Before choosing any option, you should familiarize yourself with each of them in more detail.
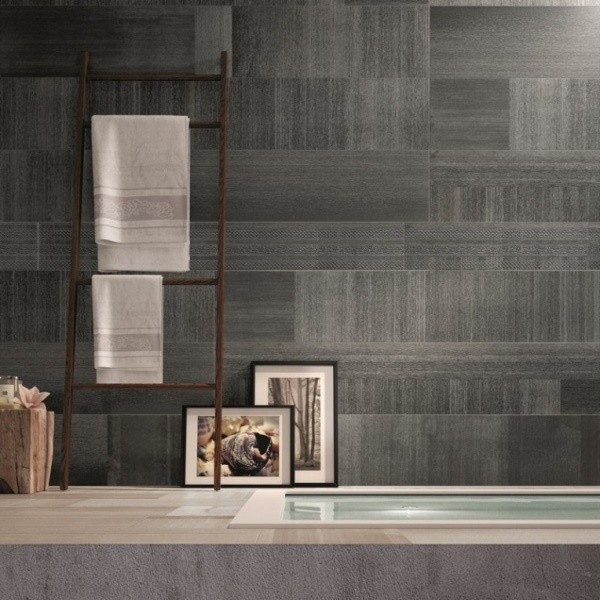
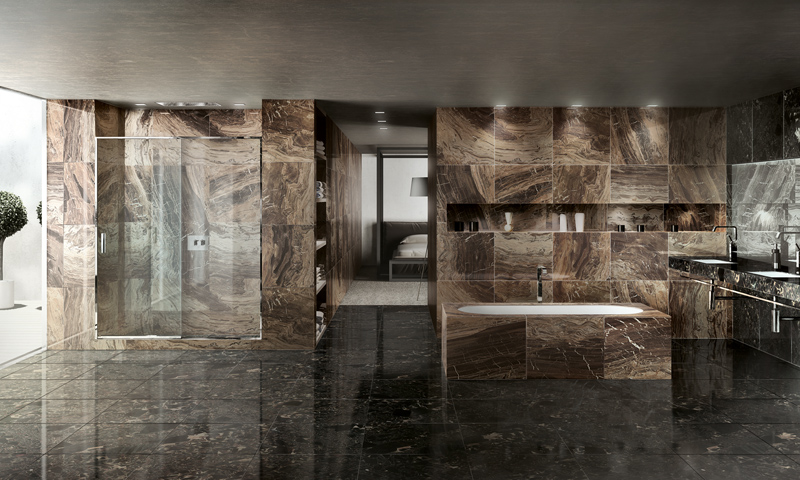
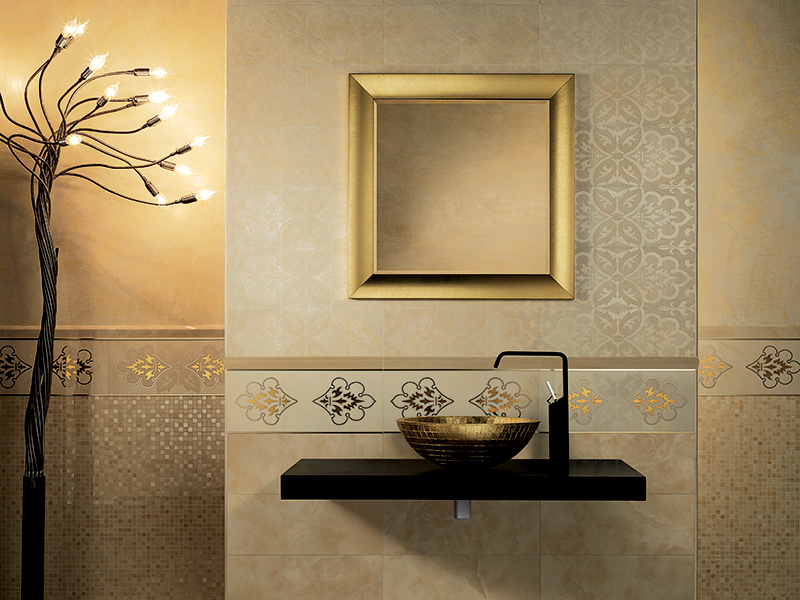
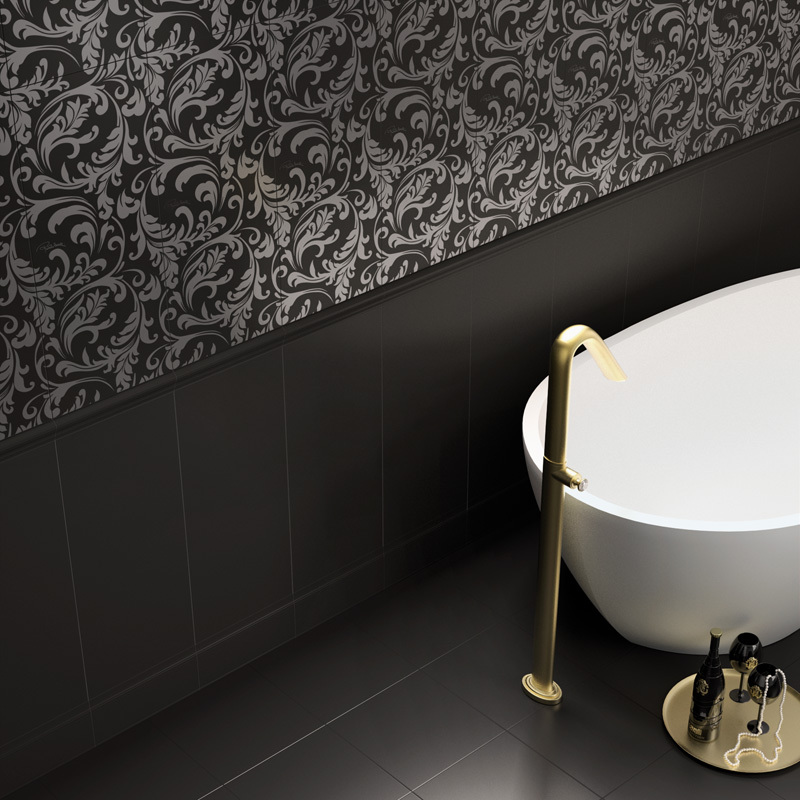
Tile
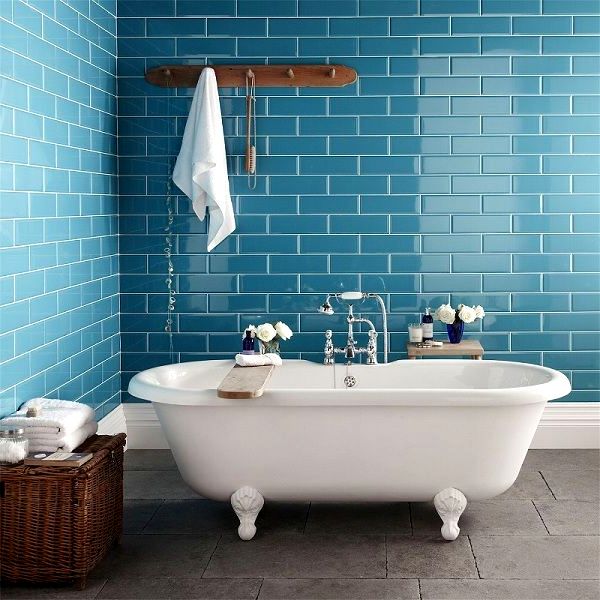
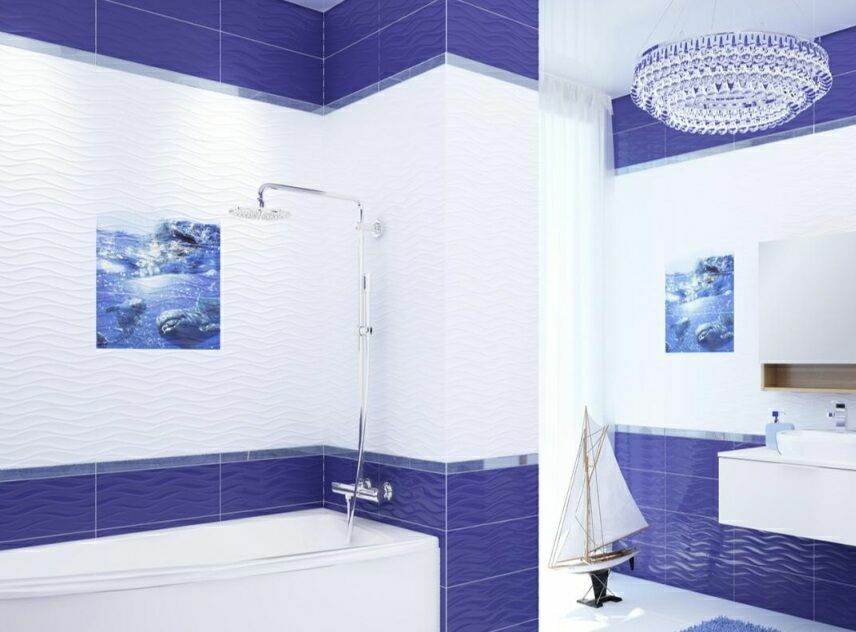
The variety of ceramic tiles makes it possible to choose any option, from budget to exclusive. Construction stores offer bicottura, monocottura, mosaic, monoporosa and majolica for interior use, including durable porcelain tiles that are great for finishing a bathroom, as well as for cladding the façade of a building or staircase.
Advice: the greatest demand is for collectible ceramics, which are a set of floor and wall elements, panels, decor and borders.
The price of tiles will largely depend on the manufacturer. The highest quality and, accordingly, expensive tiles are made by Italian brands:
- Fondovalle;
- Rex Ceramics;
- Gardenia Orchidea;
- Roberto Cavalli;
- Vitrex and others.
Spanish manufacturers of ceramic tiles take third place in terms of cost and quality. Cheaper options can be offered by manufacturers from Poland, Ukraine, Lithuania, Russia, and Belarus.
Before laying the tiles, you need to plaster the walls, which will make them perfectly smooth, and then perform priming and, after drying, apply a layer of waterproofing mastic.
Sequence of finishing a bathroom with your own hands. Video
- According to the applied markings, ceramic tiles are laid.
- Removing excess glue from seams.
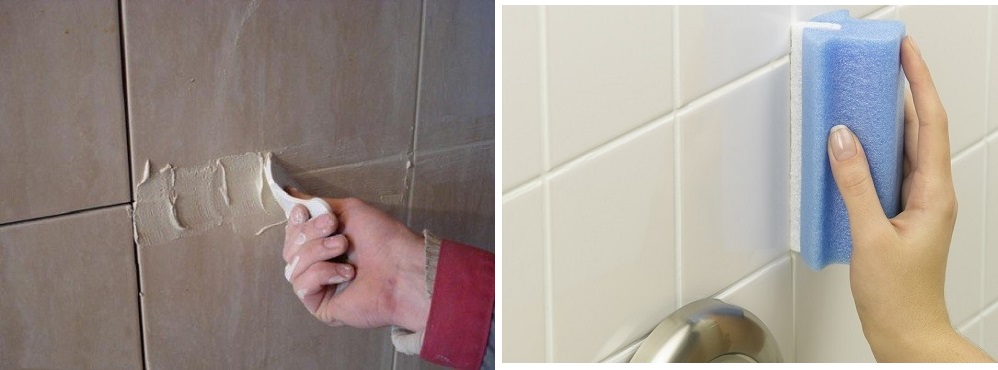
- Applying grout.
Along with the usual classics, seamless tiles are also actively used. All components of this collection do not have a chamfer at the edges, so visually the wall covering looks monolithic.
Plastic
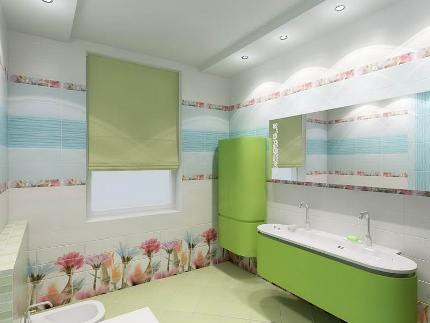
Plastic panels are considered the most successful alternative to tiles, as they are resistant to high levels of humidity, are easy to install and do not require special care.
Along with the traditional white product, there are many options in a different range of shades; plain “stone”, with bright ornaments, with floral compositions or geometric shapes, with a metallic coating.
Advice: to achieve a complete look in the interior, use the same plastic panels, make a screen under the bathtub/shower stall and create a box for communications.
Using plastic, wall cladding will not take much time. Sometimes one evening is enough. If the walls are smooth, then the panels are fastened with liquid nails or staples, but it is best to install them on a profile. First, a profile frame (sheathing) is installed, and panels are attached to it one by one.
During installation, there is a possibility that some of the products will have to be cut off in the corners, so you need to buy 1-2 more plastic panels. In addition to the panels, you will need to purchase a guide profile, fasteners (screws) and a plastic corner to mask the gaps.
Decorative plaster
Modern decorative plaster perfectly withstands humid air, chemicals and detergents, so it is ideal for decorating bathroom walls with your own hands.
The main condition for its application is smooth walls. Regular mortar will not work for leveling. Here you will need sanitizing plaster, which has good waterproofing properties.
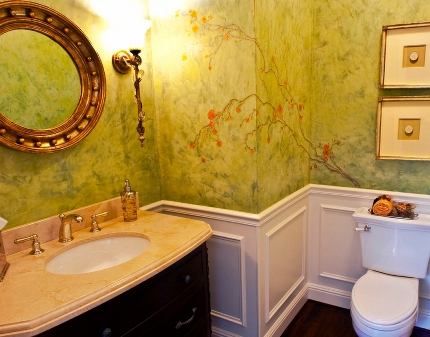
Tip: to create an original style, along with color schemes, the “cracked surface” effect, stencil pattern or hand painting are often used.
Today, Venetian plaster is in great demand among buyers - smooth plaster, which has a wide range of shades and a glossy finish. It does not absorb moisture and retains its original appearance for a long time. Structural plaster has similar properties, the texture of which retains water. But it also has negative properties. The fact is that the impurities of iron and lime contained in tap water will, one way or another, after some time spoil the aesthetic appearance of the wall covering.
DIY bathroom ceiling repair. Video
The design of the ceiling will largely depend on the finish of the walls, floors and the overall style concept. Today, simple plaster is rarely used, since it limits the possibilities for arranging lighting. They have been replaced by different variations of suspended structures, which are divided into types such as:
- plasterboard;
- rack and pinion;
- tension
If you need to save your budget, you can opt for plastic panels. The profile and slats on which they are attached will be inexpensive, and installation of the ceiling will take a minimum of time. Although this finishing option is the most budget-friendly, some plastic models will still look very attractive on the ceiling. For example, with a mirror or colored surface, gold or silver plating decor, etc.
The shape of the panels is also different: in addition to wide and narrow slats, square and rectangular plastic modules are used.
Tip: “metallic” or mirror plastic is not suitable for rooms designed in French or classical style, but for high-tech or art deco bathrooms it is more than appropriate.
Suspended plasterboard structures make it possible to create multi-tiered ceilings and experiment with the location of light sources. We must not forget that levels are good in those rooms where there is enough space and there is no likelihood of a strong drop in the ceiling.
For use in the bathroom, special moisture-resistant plasterboard is made, the surface of which is painted green.
Tip: one of the most common options for a suspended structure made of plasterboard is a backlit box installed along opposite walls (sometimes along the perimeter), while the middle remains untouched.
Elastic vinyl film, used for tension structures, is also suitable for finishing the ceiling in the bathroom. Although its installation will reduce the height of the ceiling by 7-10 cm, visually it will appear higher. However, on a glossy film, unfortunately, traces of condensation will be visible. If the size of the bathroom and the height of the ceiling allow it, it makes sense to choose a matte surface that will go well with plastic or tiles and will hide moisture.
Tip: polyvinyl chloride is considered an ideal option for the bathroom. It does not lose color, withstands high humidity and direct exposure to water, and is easy to care for.
Completion of work
When the work on decorating the bathroom with your own hands is completed, you can begin installing the bathroom, furniture and connecting related equipment. As you can see, repairing on your own is a difficult task, requiring some skills and preferably experience, but, nevertheless, educational and interesting. In addition, if you turn to specialists, you will have to give them half the amount allocated for repairs.
If you want to know how and what you can fill your bathroom with, check out this video:


