Bathroom renovation process
It’s good if you start a comprehensive renovation of the entire apartment or house according to a design project, which includes a bathroom. But what if you don’t want to spend money on an expensive design, or for some reason the designer didn’t make a project for the bathroom? In this case, you can do it on your own, the main thing is to follow the procedure for repairing the bathroom. You will learn how to optimize your work and expenses from our article.
First you need to decide on the future interior of the room. Most TV projects are expensive and difficult to complete. But you can view the photos on our website and choose the option that suits you. It is not necessary to embody these ideas exactly, it is enough to use their motives in creating your own sketches.
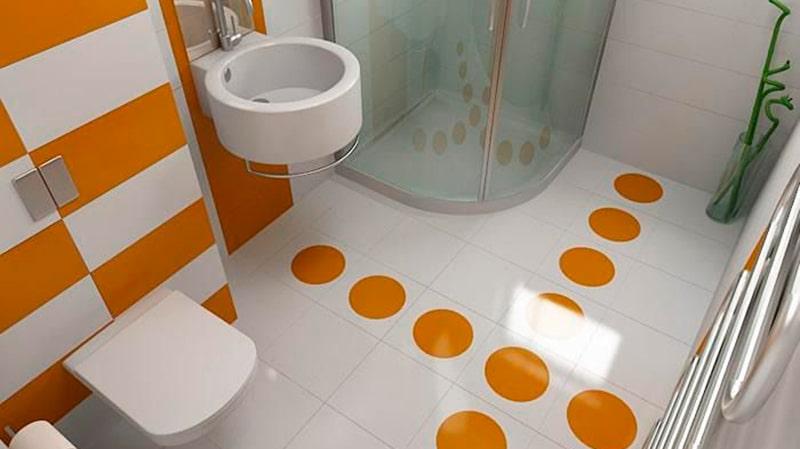
Bathroom interior design
The next step will be the calculation of the necessary material. To avoid unnecessary expenses, you need to know the dimensions of the room, the length of communications from the entry point to the final destination. Some materials need to be bought with a margin, for example, if you plan to use a tile, then you need to buy it 10% more than what is required by the quadrature (excess material will go to trimming). How many sockets are needed can be calculated using the formula X \u003d N + 1, where X is the required number, and N are household appliances connected to the electrical network.
Having decided on the material, you can start buying it. In doing so, adhere to the following recommendations:
- sockets must be selected with protection class IP44;
- IP65 class luminaires;
- if it is planned to install powerful household appliances, such as a washing machine, then the cable must be marked VVG 3 * 1.5;
- pipes that are supposed to be hidden in walls or decorative boxes must be made of PVC material;
- tiles purchased for the floor must have a wear resistance class of PEI-5.
Many people who plan to carry out all the work on their own and do not have the necessary tools often wonder what is needed for repairs in the bathroom.

Bathroom renovation tools
It is possible to answer this question only approximately, the choice will be determined not only by the amount of proposed work, but also by the type of finish. However, you can make a rough list:
- puncher and chisel for removing old finishes;
- spatula of various widths;
- building level;
- various hand tools;
- brushes and rollers for painting.
It is advisable to audit the existing tool and buy everything you need before repair.
Continuing to follow the sequence of repairs in the bathroom and toilet, we proceed to the next stage.
Preparing the premises for renovation work
At this stage, there is nothing complicated, it is enough to follow a certain sequence of actions:
- Remove all furniture from the room.
- Dismantle plumbing and electrical appliances, as well as the door and window, if necessary.
- Remove old tiles, clean walls of peeling plaster, cut out old pipes, remove electrical wiring. At this stage, it is important to cover the passage with a film, leaving a few centimeters of space below: this will help prevent dust from spreading to other rooms and provide fresh air.
Installation of communications
According to the latest fashion requirements, it is desirable to hide the pipes in the walls: it is beautiful, makes it easier to clean the room and frees up additional space. To prevent the destruction of the building, it is important to know which walls are load-bearing and their thickness. In some apartments, the walls, which have the function of interior partitions, have a small thickness (often a brick placed on edge).
In this case, it is better not to make channels for pipes, but to disguise communications with decorative boxes made of drywall.
Renovation in the bathroom combined with a bathroom
These works are best left to professionals. However, if you want to do everything yourself, the sequence of do-it-yourself bathroom renovation will be as follows:
- Sewer installation. It is carried out from the output point to the point where the plumbing will be located. It is important to observe the angle of inclination of the pipe: it must be within 3-5 0. If you plan to install a shower cabin, then you need to take into account its features: some models have an underestimated tray. In this case, it is better to start work from the cabin installation site or put it on a pedestal.
- Plumbing and heating. Starts from the point of entry of communications. The connection of the material with each other is achieved using a special soldering iron, which is better to take from friends or rent: the equipment is quite expensive. After completion of work, especially if the pipes are planned to be hidden, it is necessary to check the tightness of the joints.
- When installing an electrical network, you need to know a few points. Wiring must run under plaster. It is strictly forbidden to use metal pipes as a cable channel, as well as to connect wires with copper and aluminum cores to each other.
An excellent solution for the bathroom would be the installation of an RCD (residual current device). It will provide instant power off in a certain section of the electrical network in the event of a short circuit. For a room with high humidity, this device becomes relevant, protecting a person from electric shock.
Rough finishing of the room
Communications are laid, checked, now it's time to start finishing work. First of all, mount the door frame and the door. Next, the bathroom is repaired in the following sequence:
- walls;
- ceiling;
The walls are carefully leveled. If the surface has a significant unevenness or their plaster is required, then these works are best done on beacons.
In the case when you need to slightly level the surface, it is enough to putty using a wide spatula.
Do the same with the ceiling as with the walls. The exception is as follows: if you plan to make a stretch or suspended ceiling, then you can not level the surface thoroughly. It is enough that the plaster is held firmly and does not crumble. The final step will be the treatment of the walls and ceiling with a tool that prevents the appearance of mold.
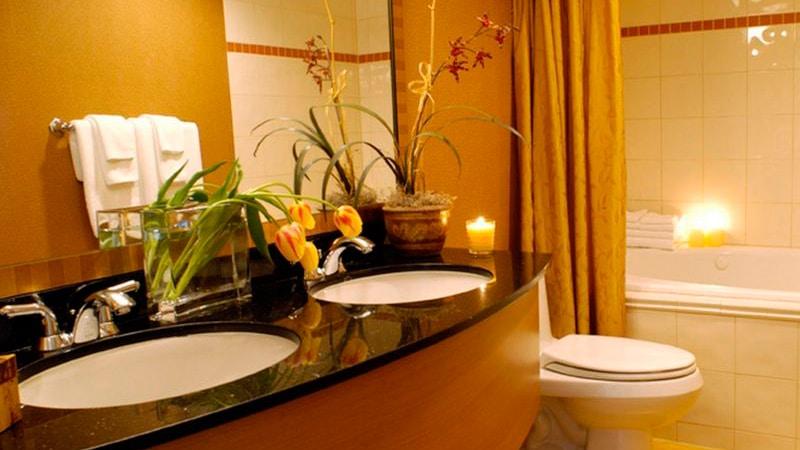
Interior design in the bathroom, after the repair work
When leveling the floor, the first step is to waterproof it using gluing and coating compounds. This will protect the neighbors from below from leaks and give additional durability to the floor. Then you can start leveling the surface. For these purposes, both cement-sand mixtures and liquid compositions are suitable. Liquid mixtures give a perfectly flat floor, but are an expensive material. The final point will be the floor primer, which provides additional strength and enhances the penetration of adhesive materials deep into the floor.
Final finishing of the room
Following the steps of a bathroom renovation, the next step would be a cosmetic finish. For floors, laying porcelain stoneware is an excellent solution. This material has a noble appearance and high strength. To get an idea of how the tiles are laid, just watch the video.
Wall decoration, depending on the planned budget, can be carried out with various materials:
- PVC panels;
- tile;
- moisture resistant paint;
- washable wallpaper.
For walls, an important condition is the presence of waterproofing to a height of 15-20 cm from the floor, as well as surface treatment with antifungal drugs and a primer, for greater surface strength.
A fairly even ceiling that does not involve the installation of complex lighting equipment can simply be painted with water-based paint. Otherwise, it is advisable to install a suspended structure or sheathe it with PVC panels: they will hide not only irregularities, but also wiring. In addition, this design will allow you to mount spotlights.
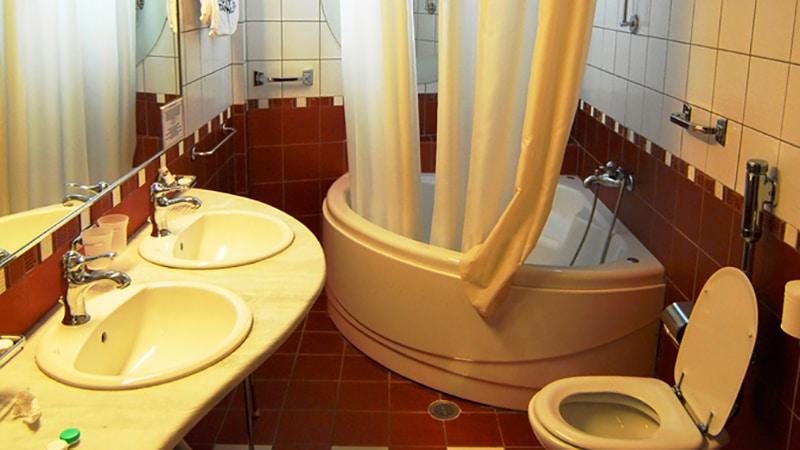
Registration of a combined bathroom with a bath
Plumbing installation
After laying the tiles, you need to wait a week or two, then you can begin to install plumbing. In this case, you need to know some subtleties:
- The installation of complex plumbing equipment, such as a shower cabin or a jacuzzi, is best left to specialists: many models have a complex device that, if you do not know the nuances, can be easily ruined.
- When fixing the toilet in the bathroom, experts recommend screwing it to a wooden base that is firmly mounted into the floor. This is explained simply: people with different physiques and weights use the toilet, which leads to its gradual loosening. The wooden base avoids this.
- It is better to place the hanging sink at a height of 80 cm from the floor surface, this will ensure the convenience of using it for both children and adults. It is better to attach the mixer in advance, then it will be more difficult to do.
Summing up
If you have a separate bathroom, then the repair sequence in the toilet will be identical to that described above. The only exception is that you do not need to output sockets.
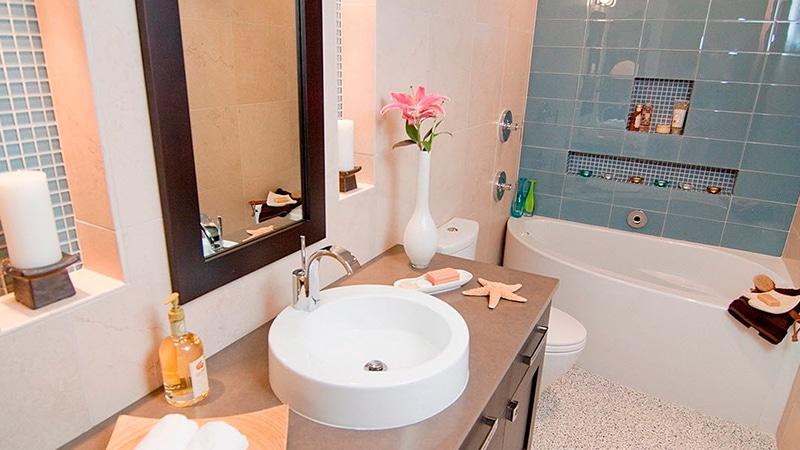
Interior design in the bathroom after renovation
Most of the work can be done with your own hands, but it is better to play it safe by entrusting the installation of plumbing, electrical wiring and sewerage to professionals. At the same time, it is desirable to exercise light control over them: without interfering in the subtleties of their profession, to observe the fulfillment of your wishes.
Tools for renovation work in the bathroom Interior design in the bathroom Repair in the bathroom Interior decoration in the bathroom Interior design, after renovation in the bathroom and bathroom Interior decoration after renovation in the bathroom Repair in the bathroom combined with the bathroom Interior design in the bathroom room after repair Registration of a combined bathroom with a bathtub Interior design in the bathroom, after repair work


