DIY bathroom floor
The floor in the bathroom must be approached very responsibly, as it will be affected by high humidity, since there are a large number of pipes in this room that need to be hidden.
It would be useful to install a system of underfloor heating for additional heating of the room. In this article, we will consider how to cover the floor in the bathroom, materials and their characteristics, how to install the screed, underfloor heating and finishing flooring.
 Finishing materials for the bathroom must be moisture resistant
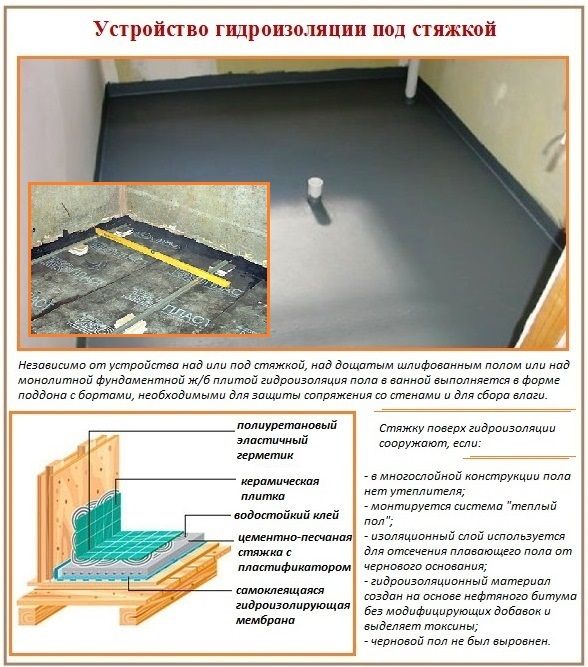
A room with high humidity and a threat of possible leakage requires a foundation using moisture-resistant materials and laying a hydro- and vapor barrier layer.
Bathroom flooring must meet the requirements of:
- should be warm, as we become barefoot on the floor;
- safety of movement, wet coating should not slip;
- ecological cleanliness;
- ease of installation and maintenance;
- long service life.
All these parameters are easy to achieve if you choose the right materials for flooring and adhere to the installation technology.
Floor device
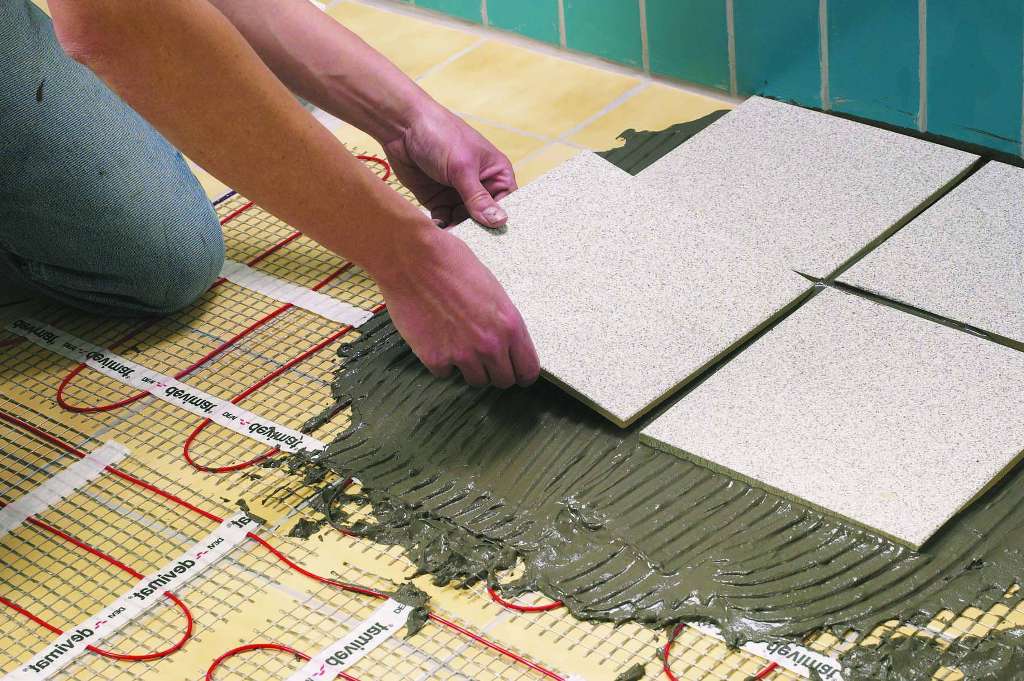
 Heated electric floors are a good choice for the bathroom
The base in all houses has approximately the same structure, differing only in the presence of a layer of heat-saving material and a waterproofing layer.
The floor consists of the following elements:
- concrete slab;
- waterproofing layer (not always);
- heat and vapor barrier;
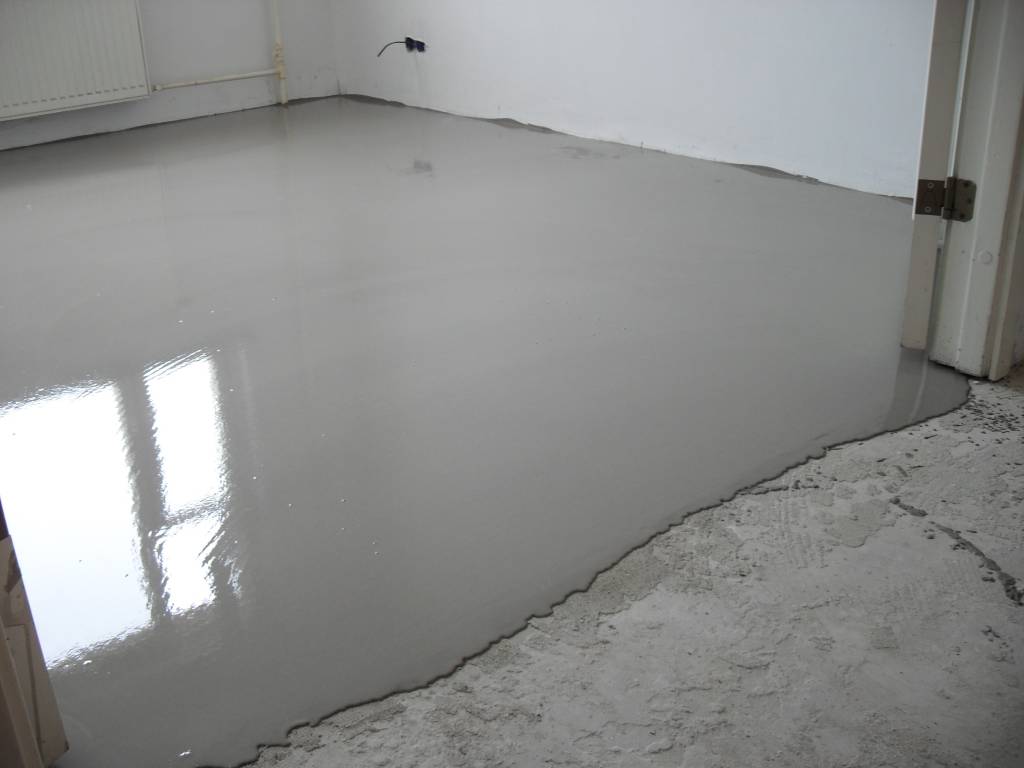
- bulk self-leveling coating of cement or polymer mortar;
- finish flooring.
For a local space heating device, at the stage of installing the screed, we lay a cable or infrared film warm floor.
Choosing a finish
 The most suitable bathroom flooring is:
- ceramic floor tiles;
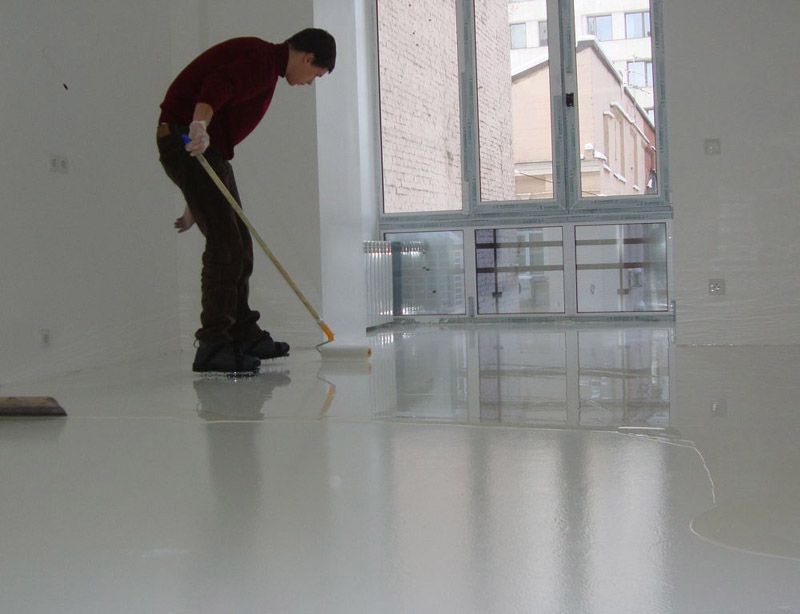
- self-leveling floor, it can be arranged with a 3D effect;
- moisture resistant laminate;
- linoleum.
We choose the material depending on whether the underfloor heating will be installed, as well as the budget for repairs. The selected coating should harmoniously fit into the overall design of the room.
Self-leveling floors
Depending on the material used, there are several types of self-leveling floors:
- cement-acrylic;
- epoxy;
- methyl methacrylate;
- polyurethane.
Optimal for the bathroom is a polyurethane floor, it is environmentally friendly, durable and has a smooth, shiny top layer. The latest novelty is a self-leveling floor with a 3D effect.
Advantages:
- beautiful appearance, especially near the floor with a 3D effect;
- high strength and resistance to moisture, when performing the installation technology, the floor will not lose its properties for 10-20 years;
- easy care, the coating has no seams and pores where moisture can accumulate;
- does not lose its qualities when exposed to abrasive substances.
When choosing a three-dimensional floor, it is possible to create a unique inimitable coating with any pattern. Before applying the composition, it is necessary to carefully prepare the surface.
The base must be free of cracks, even and clean.
Ceramic tile
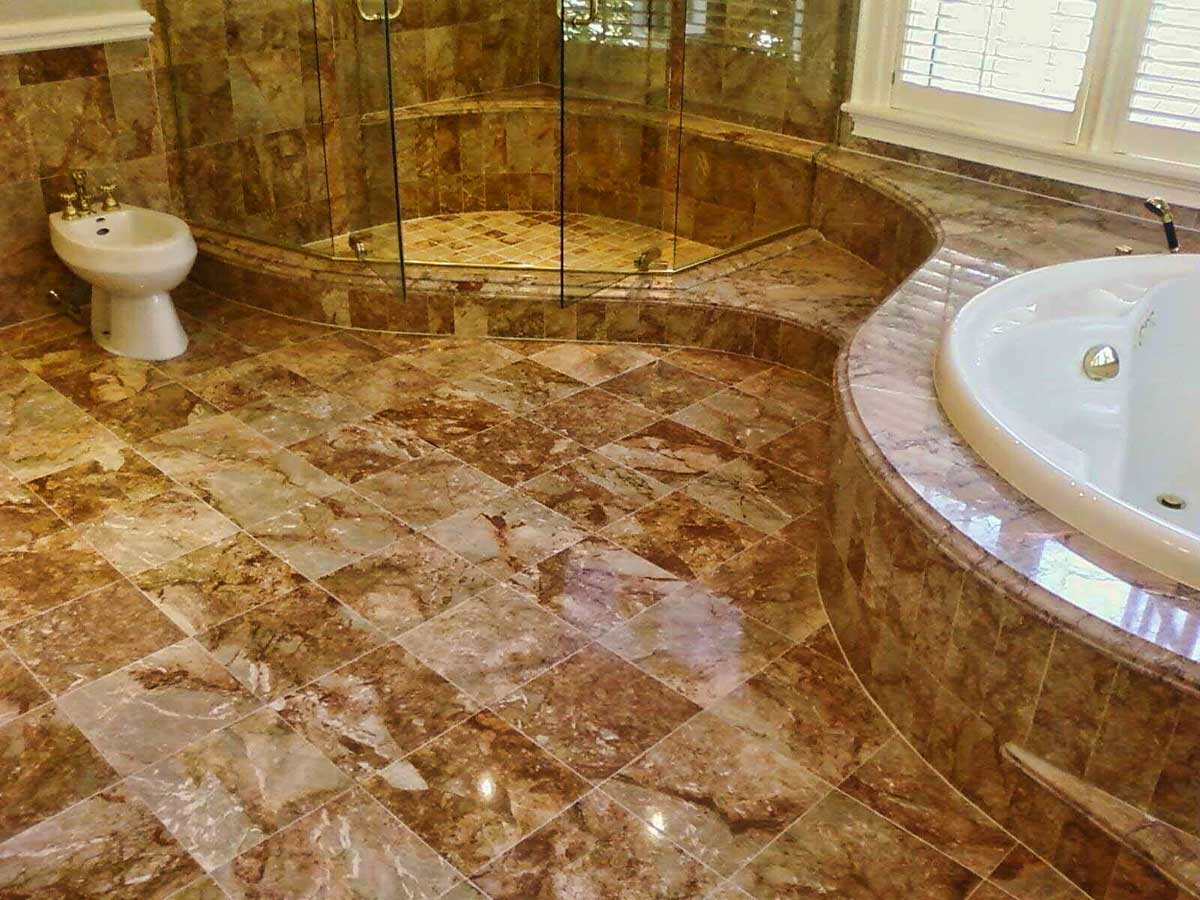
Most often, ceramic tiles are used as flooring, but since they are cold in structure, it is recommended to lay a warm floor under them. 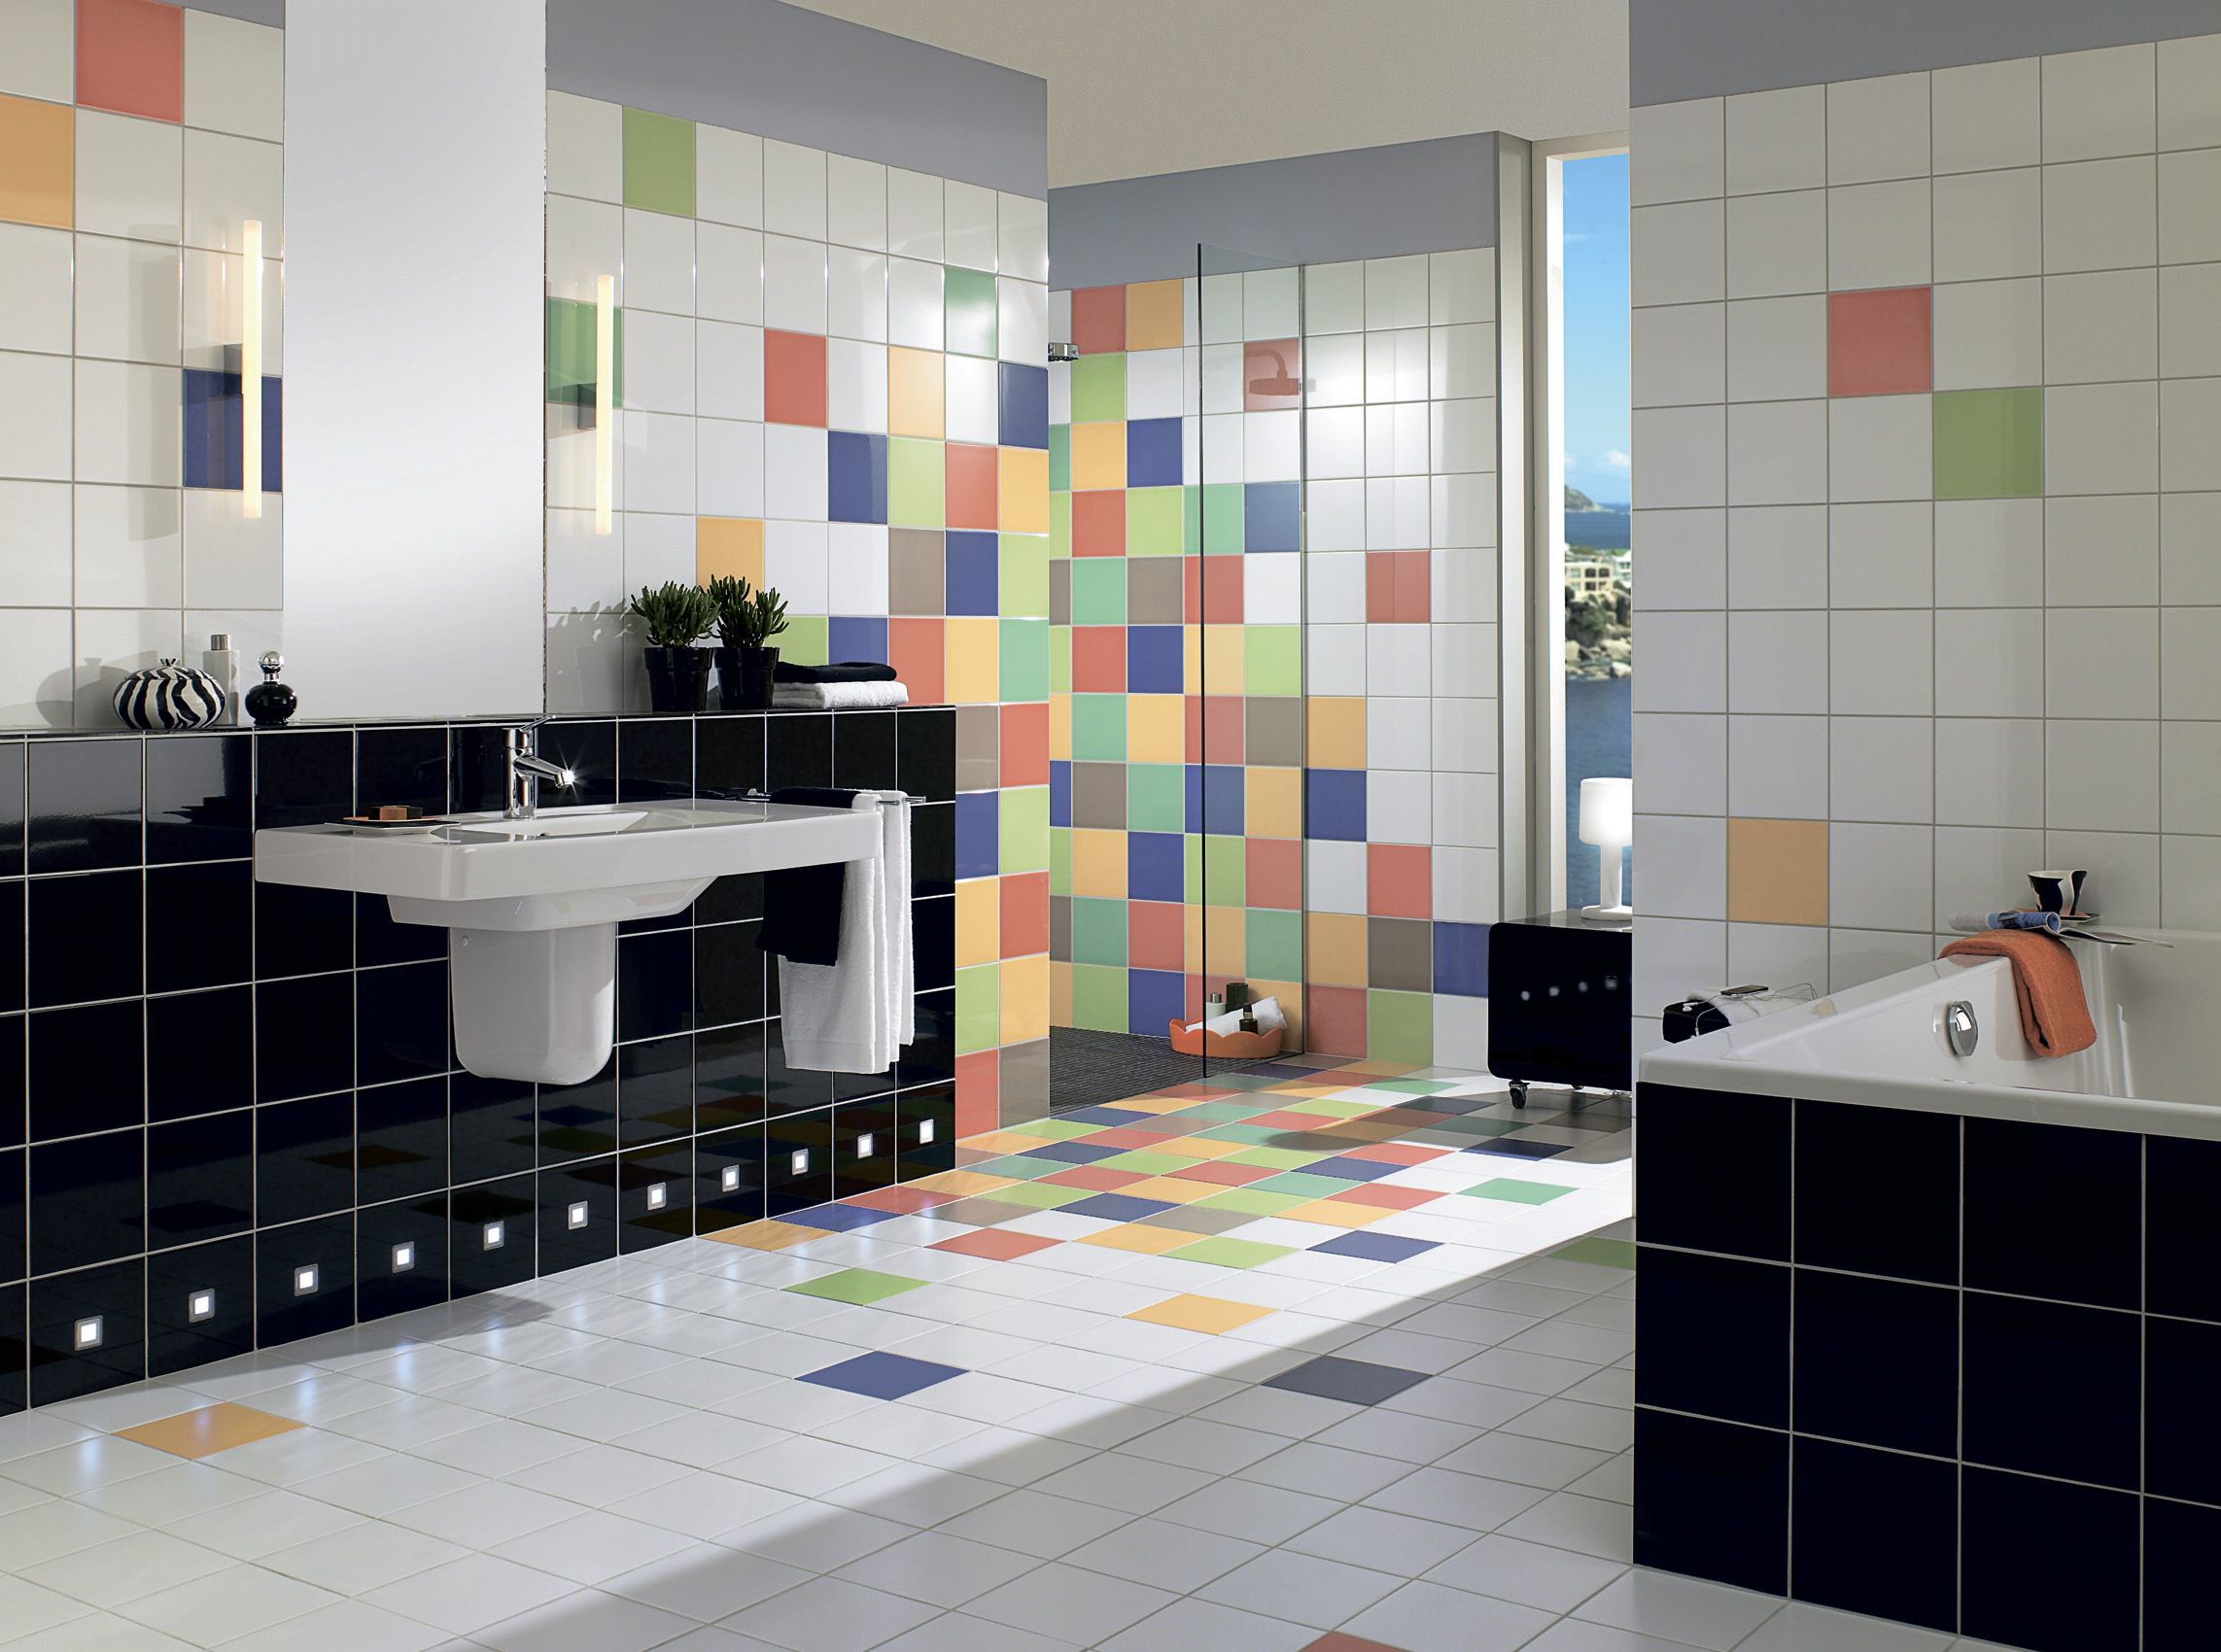
Due to the fact that water splashes often fall on the floor, in order not to slip, it is better to choose a material with a matte finish (glossy tiles are slippery).
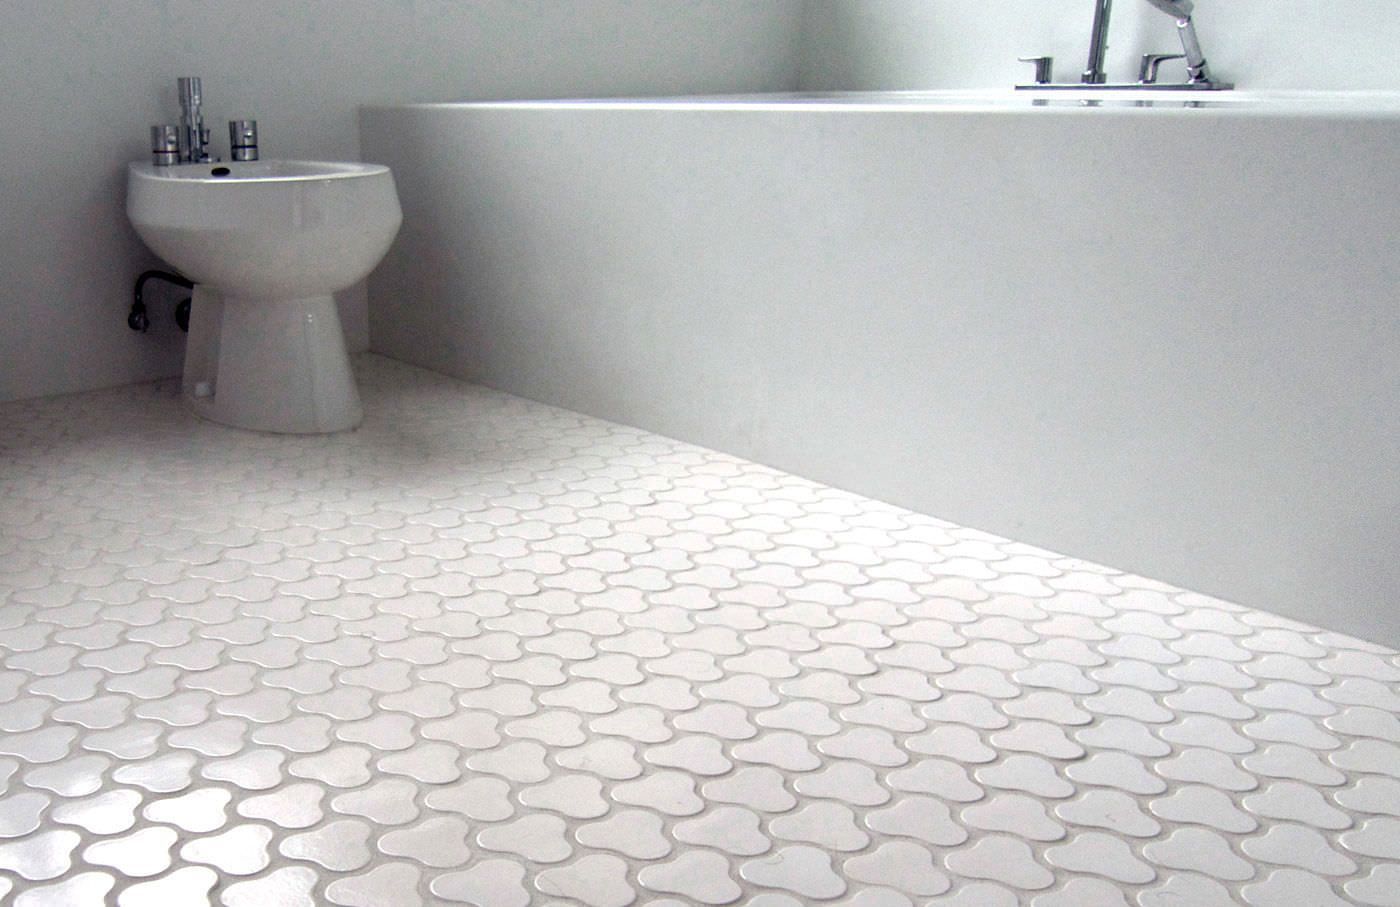 A wide range of material is produced with different structures and shades, which are easy to choose for the interior of the room, even for the most demanding owner.
Tiles create a special style in the room and have many advantages:
- resistant to moisture and temperature changes
- easy care, resistant to aggressive substances;
- easily supports the weight of the bathroom, washing machine and furniture.
The disadvantage is that the seams between the tiles become clogged with dust and dirt.
Ceramic floor tiles do not have to be the same color as the walls. The main thing in this matter is to focus on the complex combination of color shades of each element.
Laminate
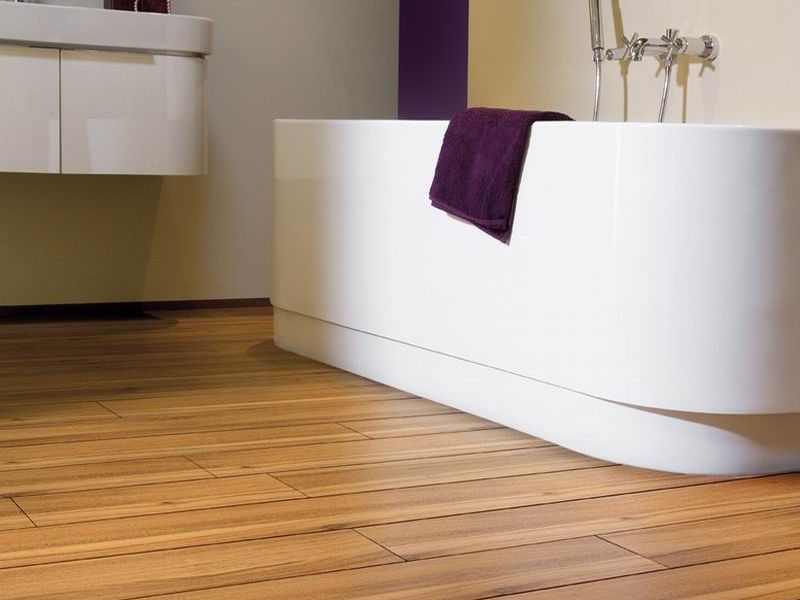
 For wet areas, choose a waterproof laminate
 For the installation of the floor in the bathroom, only moisture-resistant and waterproof laminate is suitable, which differ from each other in the features of the materials used in their structure.
Moisture-resistant laminated board consists of high-strength HDF board (from 900 kg per cubic meter). Protects such material not only from dampness, but also from mold and accumulation of bacteria. In stores, it is most often found with greenish surface shades. In some models, a rubber strip is installed along the longitudinal side, which protects the board from moisture.
 A waterproof laminate is based on a plastic plate that is treated with a hot wax compound that prevents moisture from entering.
The surface of the board is additionally covered with a polymer layer, which also protects the material from moisture and mechanical damage.
Whatever type of laminate is used, after taking a shower, the floor surface must be thoroughly wiped so that water does not stand on it, and the room itself must be ventilated.
Linoleum
 A properly sealed coating will last a very long time.
 This material, when properly laid and sealed from moisture, will last from 10 to 20 years. The material must be of high quality (commercial or semi-commercial grade).
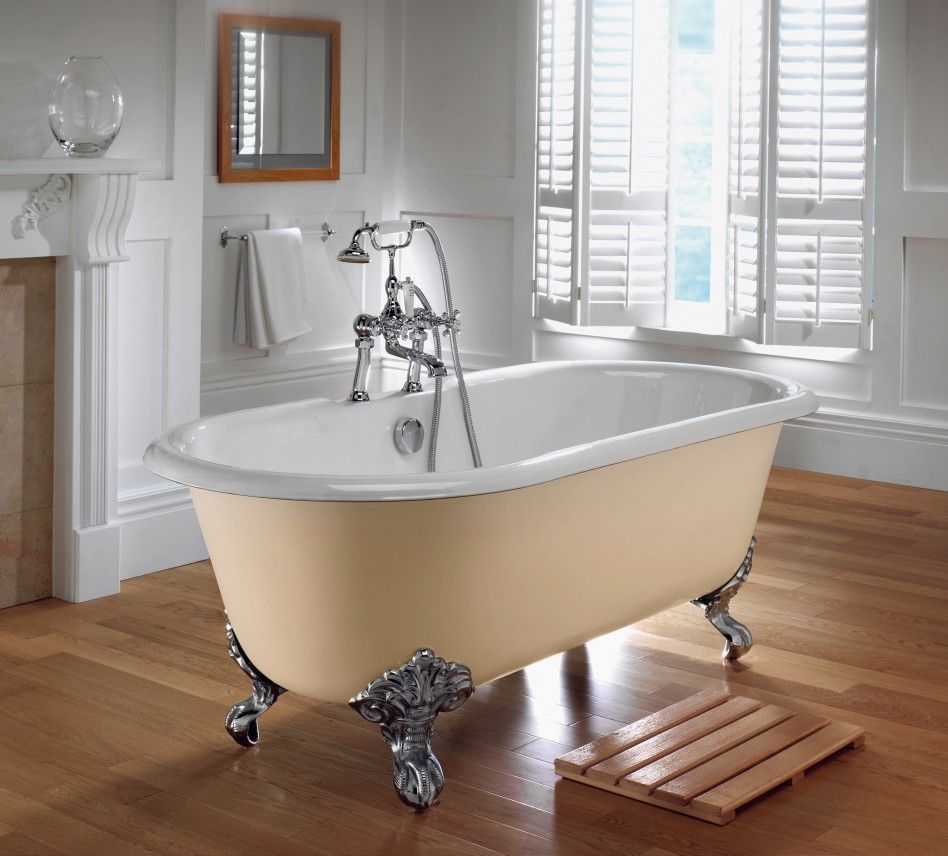
Under the legs of the bathroom and furniture, be sure to install linings that will protect the coating from the formation of serious dents and ruptures.
Advantages:
- low cost;
- seamless one-piece coating;
- the coating is warmer to the touch than the tile;
- beautiful appearance.
Properly selected and laid using linoleum technology, you can get an inexpensive beautiful floor covering. It is laid on a completely dried screed and substrate.
All connections to the baseboard must be sealed to prevent moisture ingress.
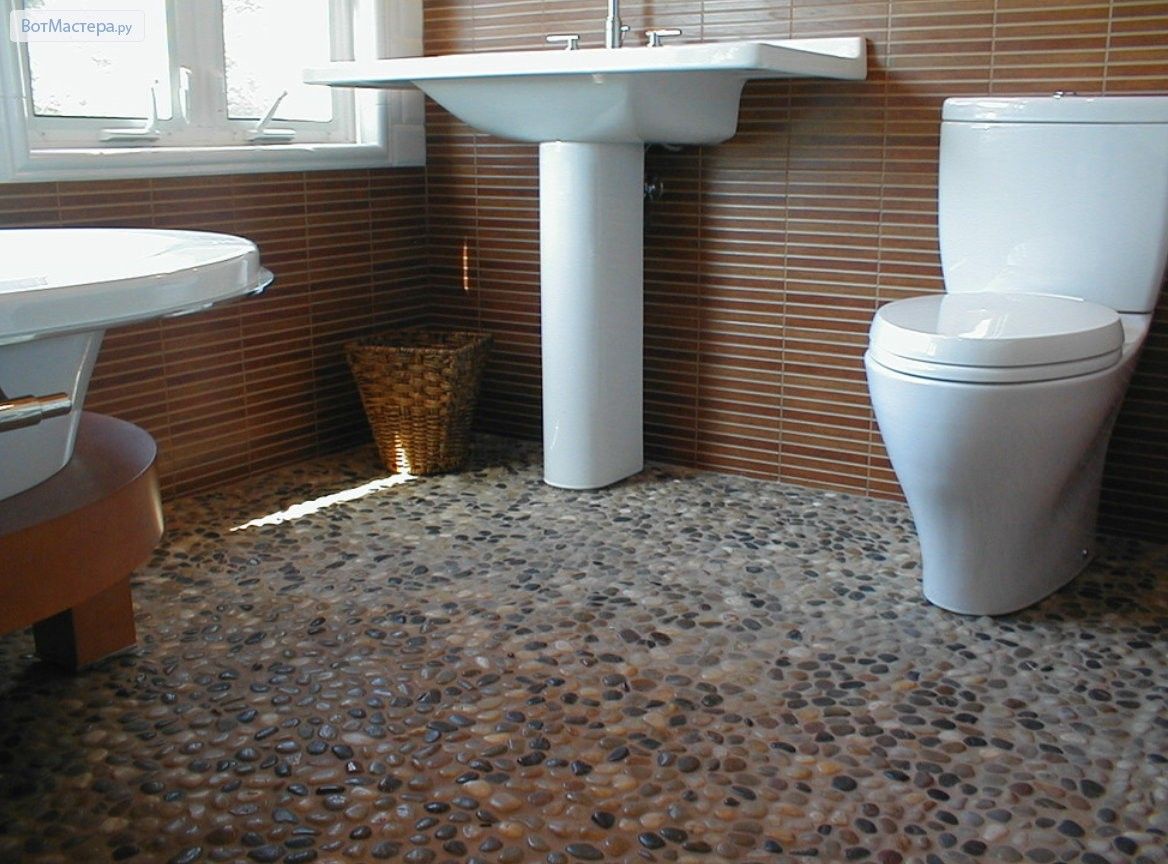
 Non-porous material will be easier to wash
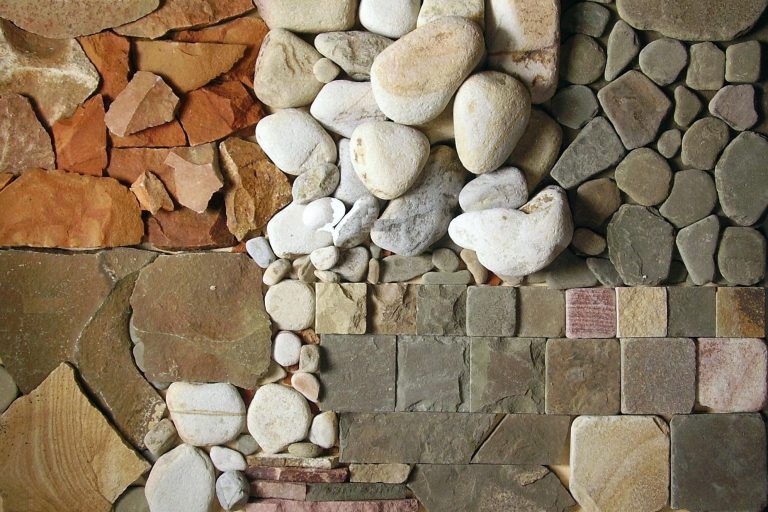
 Due to its resistance to moisture, strength and durability, natural stone is suitable for flooring in rooms with high humidity.
The stone must be chosen non-porous so that it is easier to wash.
In addition, you need to pay attention to the properties of the material, the action of which should be aimed at preventing the absorption of moisture and fumes.
The best types of natural stone for bathroom floors are granite and slate.
Decorative carpet made of crushed stone
 For coating use a fine fraction of 3 - 5 mm
 It is a mixture of mineral particles of semi-precious stones, pebbles, marble and quartz sand with a fraction of 3-5 mm.
Advantages:
- service life of more than 30 years, increased wear resistance;
- resistance to moisture and aggressive substances;
- seamlessness;
- beautiful appearance;
Cleaning will include removing dust with a vacuum cleaner, wiping with a damp cloth and rubbing with polish.
The disadvantages are high cost, fragility and susceptibility to mechanical damage.
The smoother the surface of the stone, the less it is prone to contamination in places of patterns and texture edges.
Do-it-yourself bathroom floor installation
With the skills of construction work and a minimum of tools, it is easy to make a floor in the bathroom with your own hands. The first step is to prepare and repair the surface of the plate. Preparatory work for all types of floors is the same. How to make a self-leveling floor in the bathroom with your own hands, see this video:
Preparing the plate surface
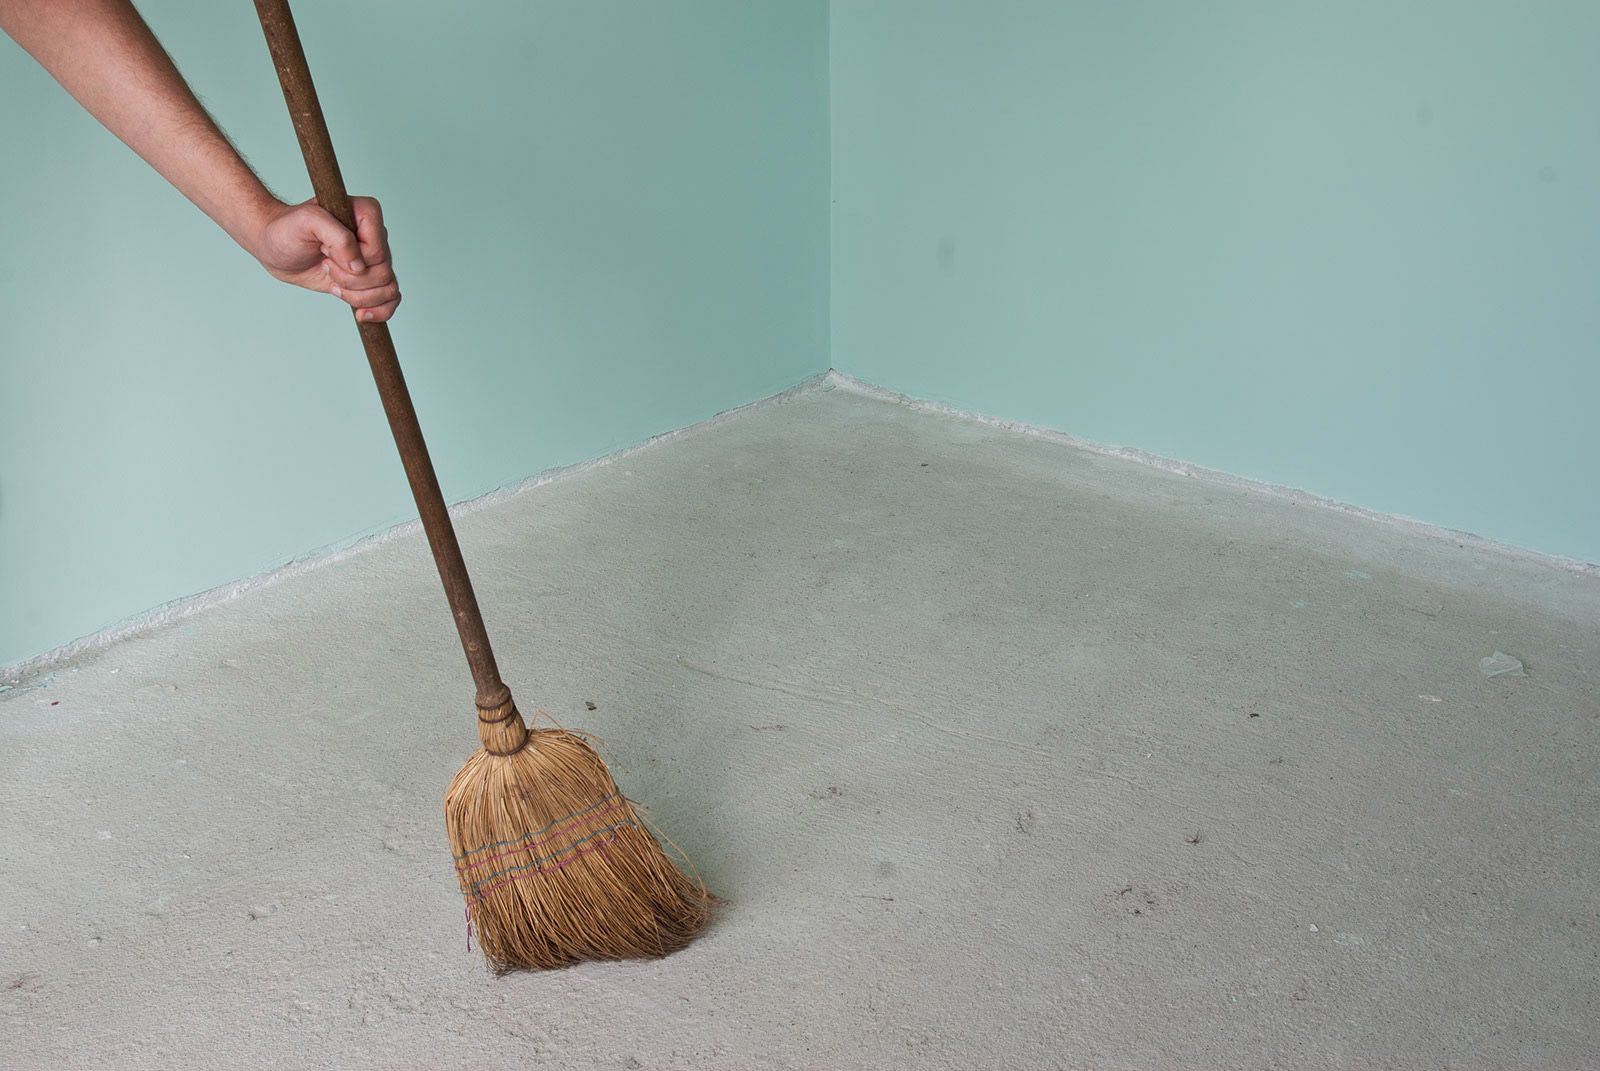 The plate must be cleaned of debris
 The quality of the floor and the durability of the floor covering depends on the correct preparation of the slab for installation.
- We remove all exfoliating parts of building materials from the stove, remove dust. If an empty sound is heard when tapping the floor, then the old screed has peeled off, in which case it must be removed.
- If damage is found, they must be repaired with cement mortar, cracks more than 1 mm wide must first be expanded with a grinder, clean the edges and moisten abundantly. Cement mortar adheres better to a wet surface.
- After the base has completely dried, remove the dust, as it reduces the quality of adhesion of materials.
- We prime the base in two layers; We apply the second layer 4 hours after applying the first and wait for it to dry completely.
A damper tape must be glued around the perimeter of the bathroom walls, which will serve as an expansion joint in case of temperature changes and protect neighbors from below from water leaks.
Waterproofing
When making the floor in the bathroom with your own hands, you need to take care of its waterproofing, which will protect against the penetration of moisture into the pores of the ceiling and the destruction of the base.

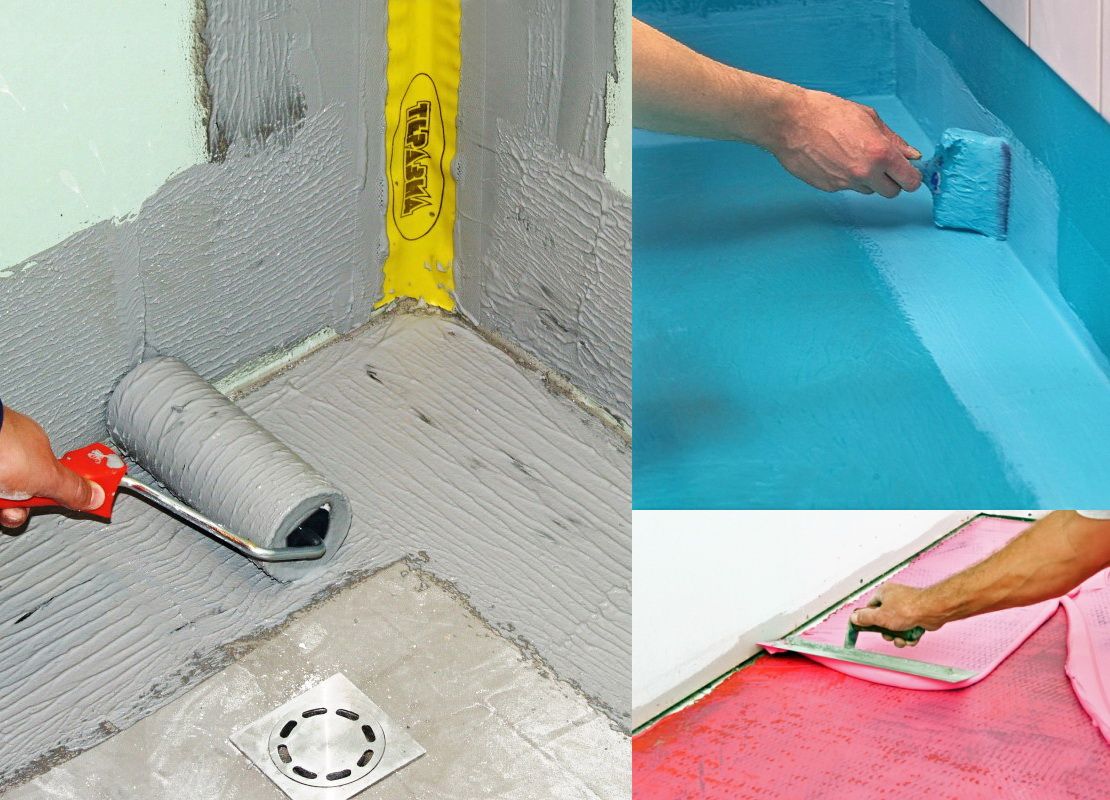
Choosing a waterproofing material:
- coating insulation is applied with a roller or brush in three layers, which makes the base waterproof;
- bitumen emulsion has a service life of 5 years;
- gluing insulation in the form of rolled-on materials on a polyester or fiberglass base is laid with a 150-200 mm overhang on the walls. The surface under the material must be pre-levelled.
 Liquid waterproofing is most convenient for home use
 We fill the intersections of the ceiling with pipes with liquid waterproofing material.
Walls to a height of 150-200 mm and the floor area adjacent to them are treated with bitumen-based mastic.
Then we apply a layer on the entire surface of the floor, after 6 hours we apply another layer over the entire area. After it is completely dry, proceed to the next step.
 To mark the level of the floor, we place guides parallel to the wall, depending on the length of the rule with which we will distribute the solution.
To fix the beacons to the desired height, we use pieces of moisture-resistant materials. We check the correctness of the markup with a laser or bubble level.
We prepare a cement-sand mortar for screed in a ratio of 1: 3. To make it of high quality, you need to pre-dry the components carefully among themselves and only then add water to them.
We start the installation of the screed from the far corner of the bathroom, we perform the work in one go without interruption. To protect against cracking and increase strength, we add plasticizers to the solution and reinforce the structure with a reinforced mesh. The thickness of the screed should be between 2 and 7 cm, depending on the materials used. For information on how to properly make a screed on beacons, see this video:
Work sequence:
- Pour the concrete solution between the beacons and distribute it with the rule so that it condenses and the air bubbles formed come out.
- When the solution has set well, but has not yet dried, we take out the guides, fill the voids with concrete and level the resulting mass.
Upon completion of all work, we cover the screed with polyethylene. Every day during the ripening period, slightly moisten its surface with water. The total drying time of the base is about 30 days.
Ceramic tiles are best laid on a wet screed, the rest of the floor coverings are mounted after the subfloor has completely dried.
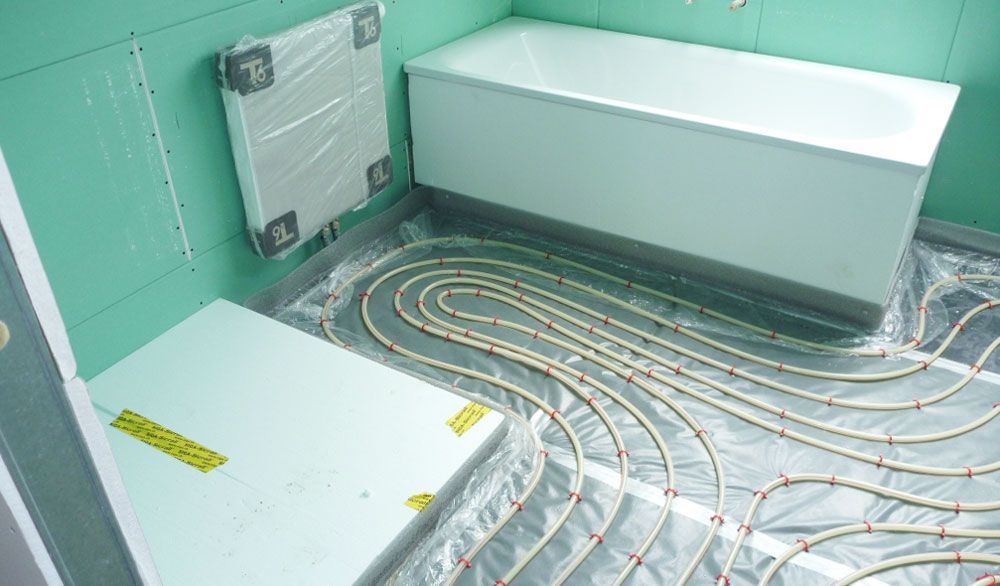
Warm floor
Warm floors are divided into electric and water: electric heating cables and a water floor require the installation of a screed. Heating mats can be laid on an existing base and already covered with a 2-3 cm screed from above. See the details of the process in this video:
Installation of an electric underfloor heating includes laying heating cables and connecting a temperature sensor that maintains the desired temperature in the bathroom. 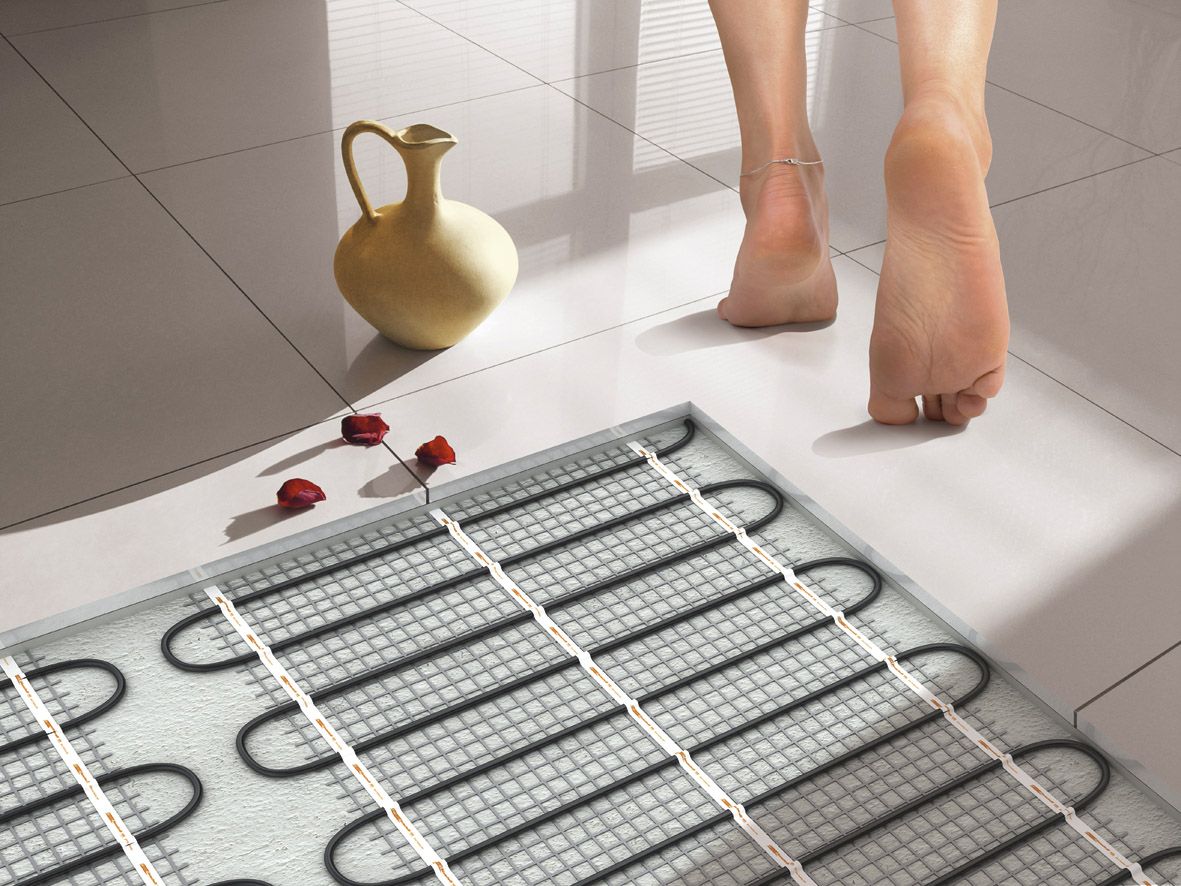
Choosing the best option for underfloor heating for the bathroom:
| Heating system | Advantages | Flaws |
|---|---|---|
| cable system | Radiates heat only from heating elements, economical power consumption, service life of 15-20 years; low cost, the cable is protected from mechanical damage, as it is inside the screed, heating temperature control using a sensor. | Needs screed arrangement, emits electromagnetic radiation, labor-intensive installation process |
| Heating mats | Easy installation, virtually no noise | Fragility, energy consumption is greater than when using a water floor |
| water system | economical | Time-consuming installation, difficult to adjust the temperature |
Electric cables and heating mats can be installed under ceramic tiles. The film infrared floor cannot be installed in rooms with high humidity.
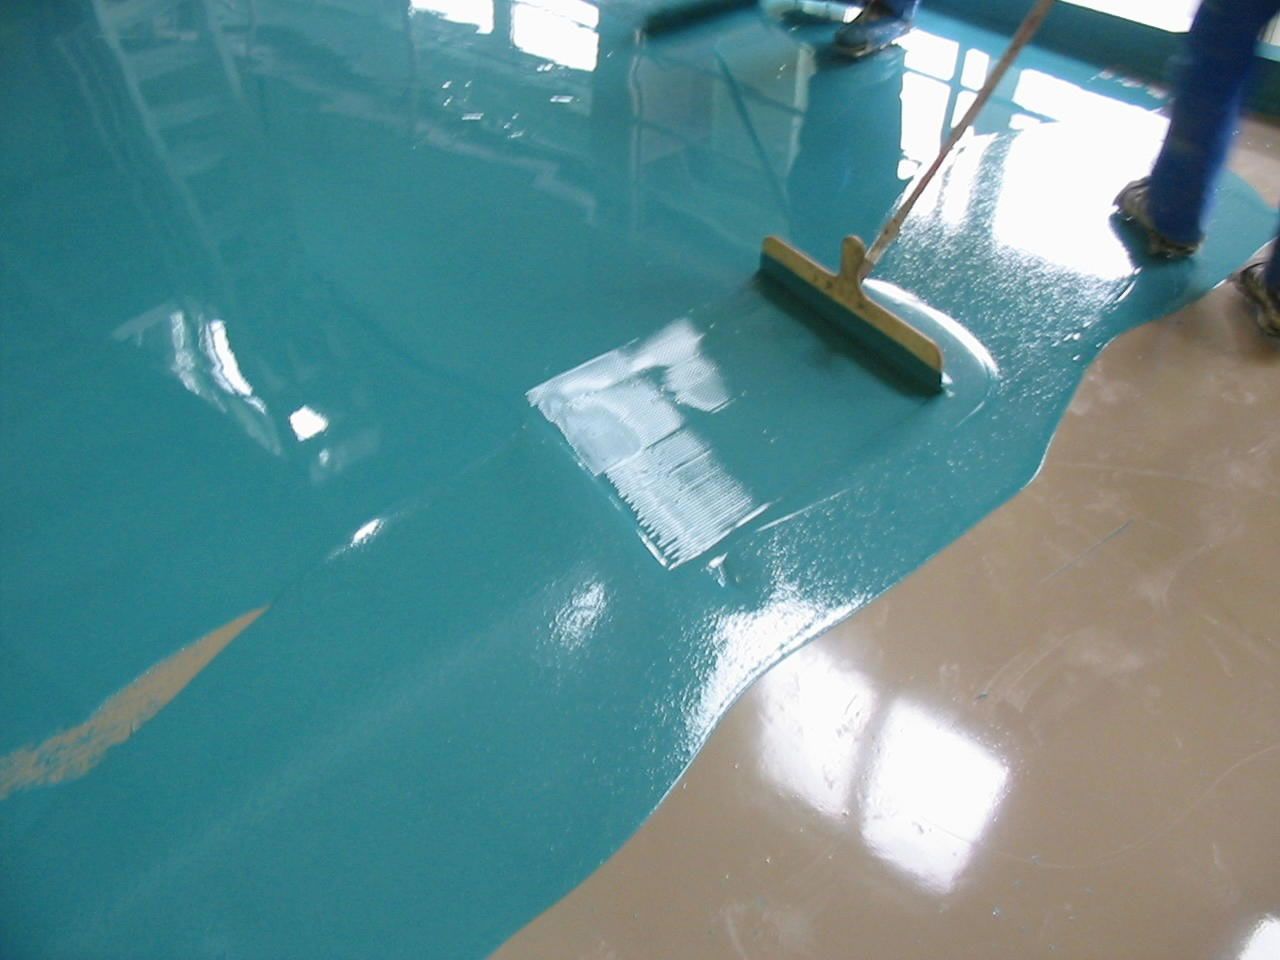
![]() Consider how to make a bathroom floor with a 3d effect. A polymer self-leveling floor is applied to the finished screed in 3 layers:
Consider how to make a bathroom floor with a 3d effect. A polymer self-leveling floor is applied to the finished screed in 3 layers:
- Finishing transparent layer with 3D effect.
We apply the base coat on a perfectly even base with a residual moisture content of no more than 4%. For better adhesion to the base layer, we prime the concrete screed and wet it with water.
Surface preparation of the slab is carried out as for a conventional floor.
base layer
After sticking the damper tape and installing the guide beacons, we proceed to apply the first layer.
 Installation of the first layer starts from the base angle
 Application sequence:
- Pour 5-6 liters of water into a capacious container, gradually pour a bag of dry mixture, mix with a construction mixer or a drill with a nozzle until a homogeneous solution is obtained in consistency like sour cream. The mixture must be used quickly as it hardens within 10 minutes.
- We start installation from the far corner, moving towards the door. Pour out the solution and distribute it over the surface using the rule, remove air bubbles with a spiked roller.
We fill the base coat in one step. Areas in contact with each other should be filled with an interval of less than 10 minutes.
Drawing an image
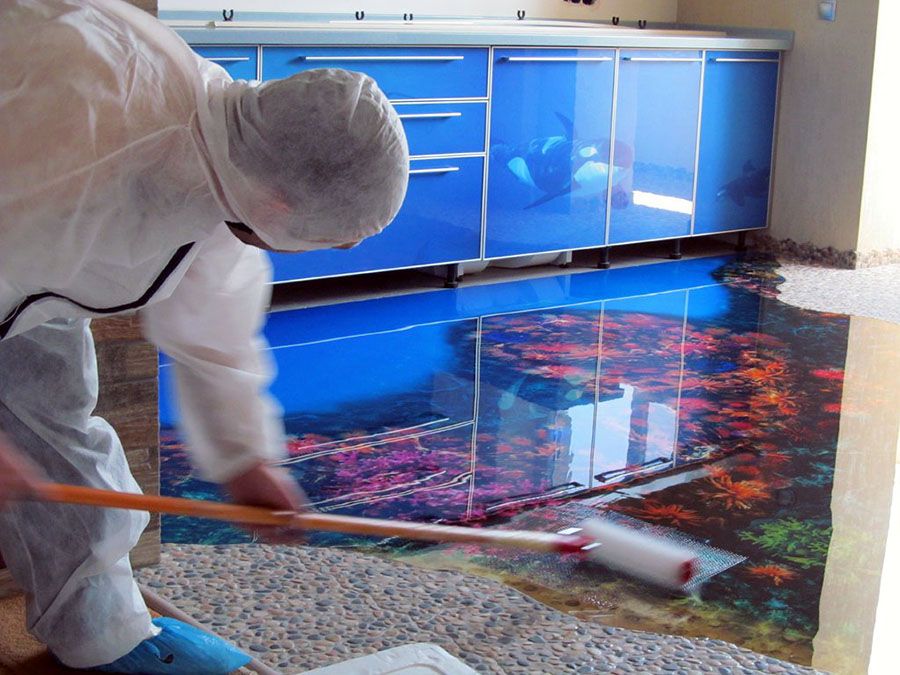
 The image can be ordered at the printing house on banner fabric
 For the bathroom, an image of a marine theme is suitable. You can lay the floor with shells and small pebbles as a decor.
First, we select an image, order a printing company to print it on a banner fabric, which should be the size of a bathroom floor.
Here it is necessary to take into account the places for the bath, washing machine and furniture so that they do not hide the pattern. The image must be placed so that it fits in an open area.
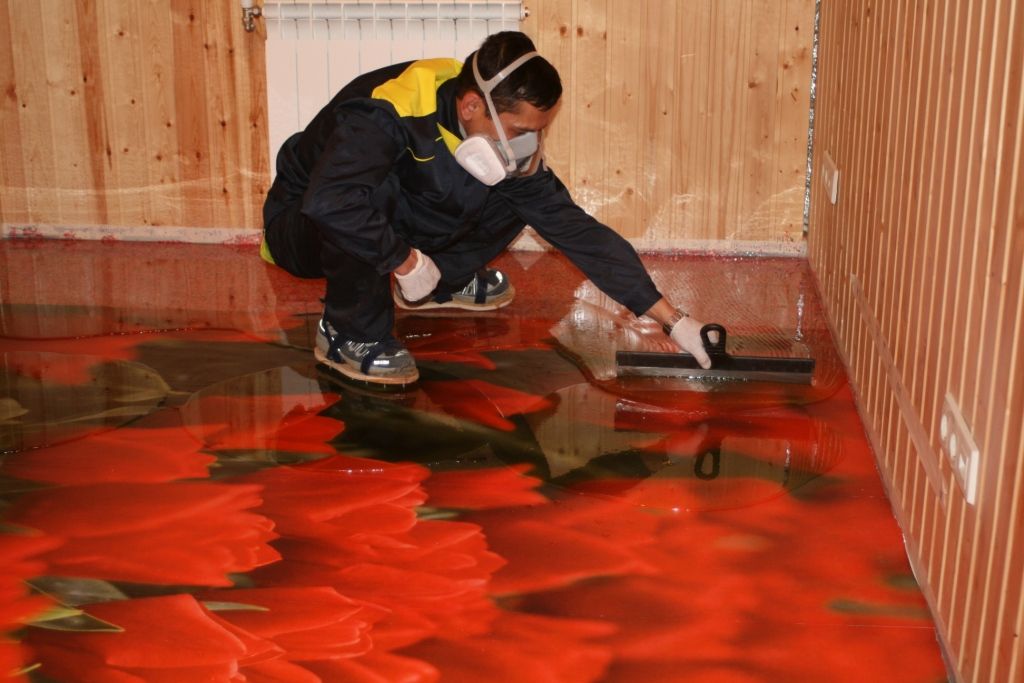
 The image is glued from the middle
 Stages of drawing laying:
- We cover the base coat with a primer, it is possible to mix the polymer with an organic solvent for the primer.
- After it dries, we lay out the drawing on the floor, if the image is applied on a self-adhesive base, we start gluing from the middle, smooth it well so that all the air comes out. We cut off the part of the material that is wrapped on the walls.
When using a composition of shells, it is faster to lay them close to each other in a chaotic sequence. If you decide to create a pattern of volumetric particles, keep in mind that this is a very complex and time-consuming process. For information on how to make such a coating in the bathroom, see this video:
We fill the gaps between the decorative elements with polymer clay, after which we leave the resulting surface to dry completely.
Finishing layer
 The final transparent coating creates the effect of a three-dimensional image. It is applied to a clean surface a day after drawing.
Walking on the finish layer during the execution of work is possible only in shoes with high spikes (paint-shoes).
Application sequence:
- We mix the components until a mass of a homogeneous consistency is obtained. From the far corner we pour the composition, evenly distribute it over the entire floor area. To obtain a volume three d effect, the layer thickness must be at least 3 mm.
- The coating hardens within half an hour, at which time we manage to work out the surface with a spiked roller to remove air bubbles.
To increase the life of the finish layer, you can open it with varnish. Until completely dry, the coating must be protected from mechanical damage.


