How to make a brick bath with your own hands: step by step instructions, photos, videos
Why do you need a brick bath? In any, even in a very small hardware store, not to mention a hypermarket, it is quite easy to buy a standard-sized bathing container. But this is how a person works - the more choice, the longer it will take to look for something like that, not like everyone else, unique. How to make a brick bath with your own hands, step-by-step instructions, photos and videos - we offer you all this in this material.
Preparatory work
To work on the manufacture and construction of a brick bath, you will need the following tools:
- level;
- stitching;
- mop;
- square;
- trowel;
- putty knife.
At the first stage, you need to remove the old bath (if any) and the floor covering to the base (floor slabs). The work is quite laborious. Especially if until recently this place was occupied by a full-fledged iron bath, then you will have to remove not only the existing building and finishing materials, but also the drains and the old ones.
Attention! All communications should be thought out and carried out before the construction of the brick structure begins, otherwise it will be impossible to do this later.
Before carrying out construction work on the installation of the walls of the bath, mount all the necessary communication and sewer systems. To facilitate drain maintenance, instead of the usual piping for a standard bathtub, install a shower drain.
An important point at this stage will be taking measurements of the premises, designing the structure and calculating the necessary building (finishing) materials.
Step-by-step instructions for building a bath
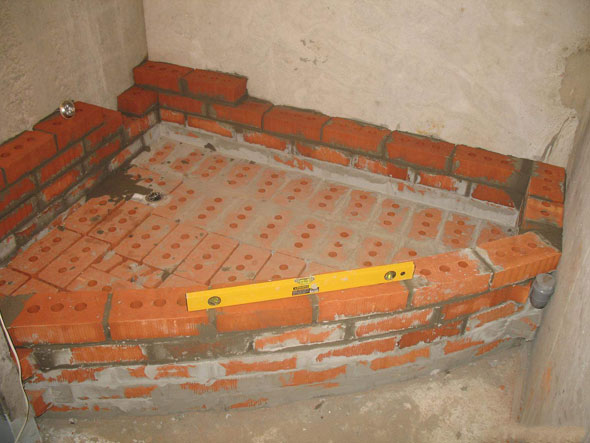
The next step is the construction of the walls of the bath. Aerated concrete blocks are often used instead of bricks. The masonry mortar is made standard of M400 cement and water in a ratio of 3: 1. Soak the brick that will be used for work for a day in ordinary water so that after laying it does not take excess water from the solution. Masonry, as a rule, is performed in one brick.
The seams are recommended to be made not very thin (optimally - 8-12 mm) in order to further strengthen the load-bearing walls. Remove excess mortar protruding from the seams immediately carefully and carefully, so that later the finishing material lays down in an even layer. The finished work dries out within a few days.
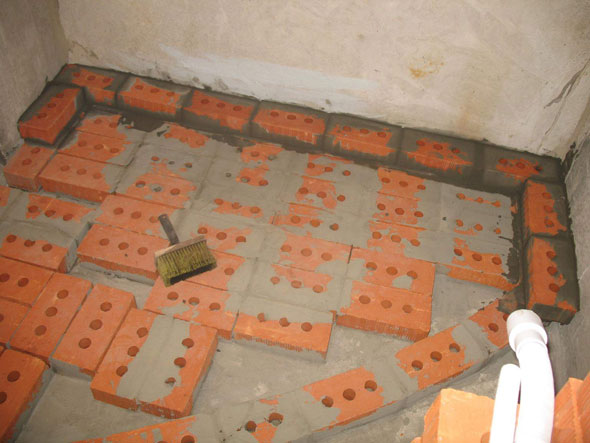
To prevent water from leaking in the bath before finishing the floor of the structure, make it from the following materials to choose from:
- roofing material;
- special polyethylene film;
- metal sheet.
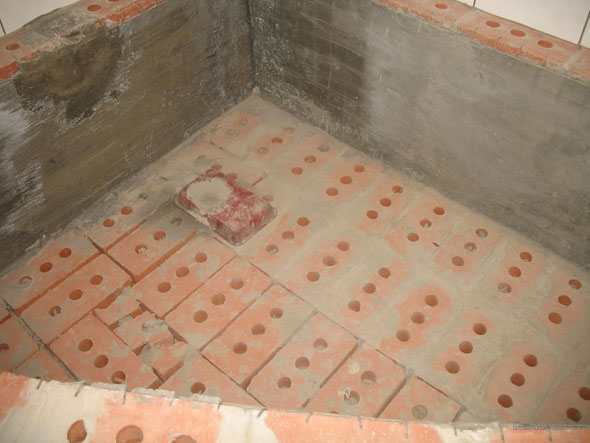
Cover the bottom of the structure with a layer of gravel or expanded clay, and then pour a concrete screed and let it dry for a week.
Important! When forming the bottom of the bath, make sure that the slope is towards the drain hole.
Before final finishing, carefully plaster the outer and inner walls of the bath and level their surface for applying facing materials.
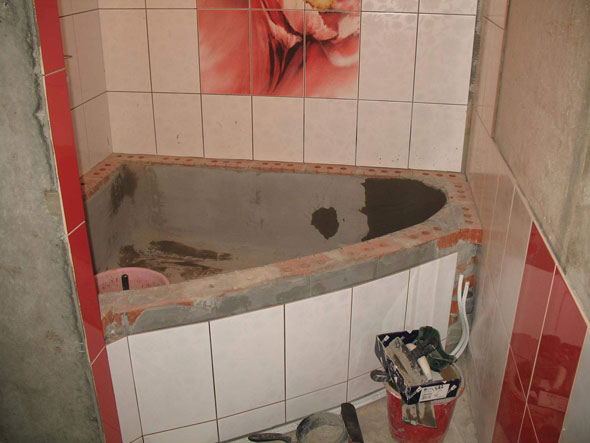
Finishing and cladding of the bath
The cladding work begins from the inside of the bath: first they make the floor, then the inner and outer walls. As an adhesive, a cement mortar or a special tile powder is used. After drying the work for several days, only remains. You will be able to use the new bathroom in 3-4 days.
What are the advantages of a brick bath
- Originality and non-standard form.
- Possibility of beautiful and suitable for your design finishes on the surface of the font.
- Ease of use - a hand-made bathtub can be a little deeper than a standard model.
- Durable use (subject to taking into account all technical issues).
- Significant financial savings.
There are also disadvantages - if you want to dismantle the structure, then there will be a lot of work.
DIY bath: video
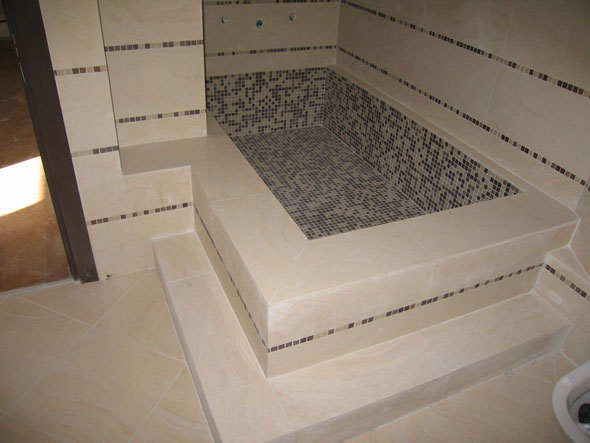
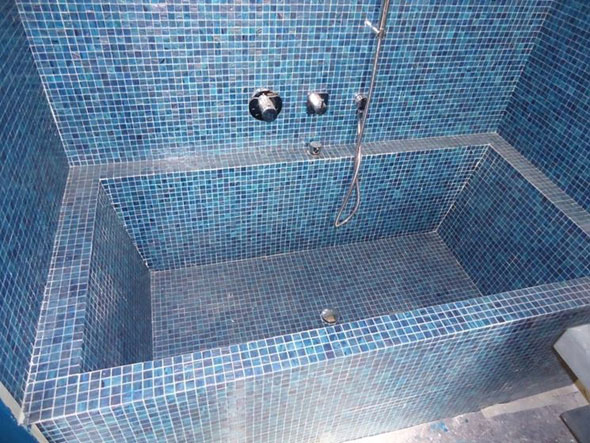
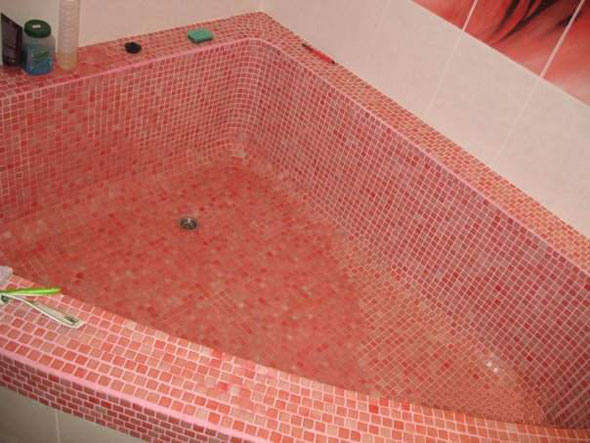
Brick bath: photo